
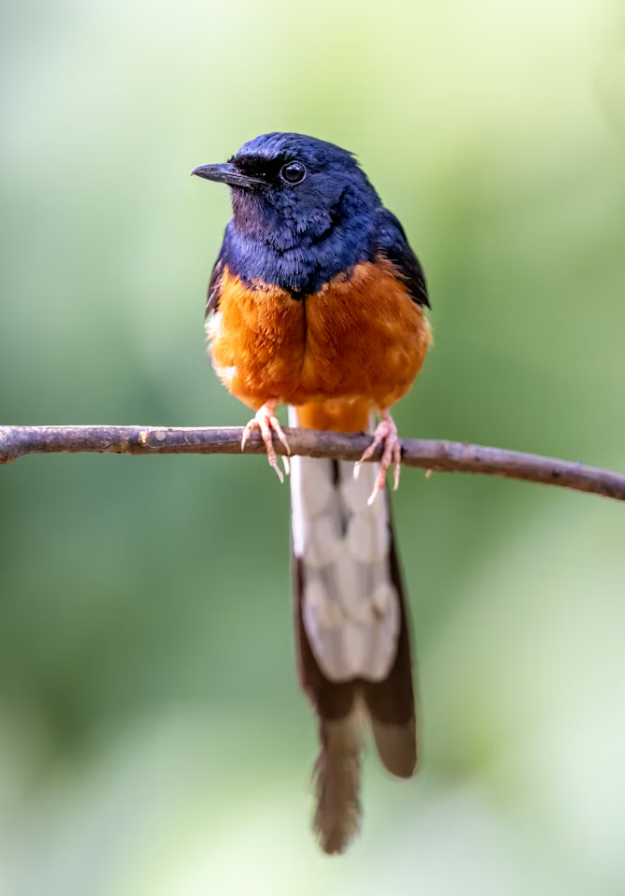
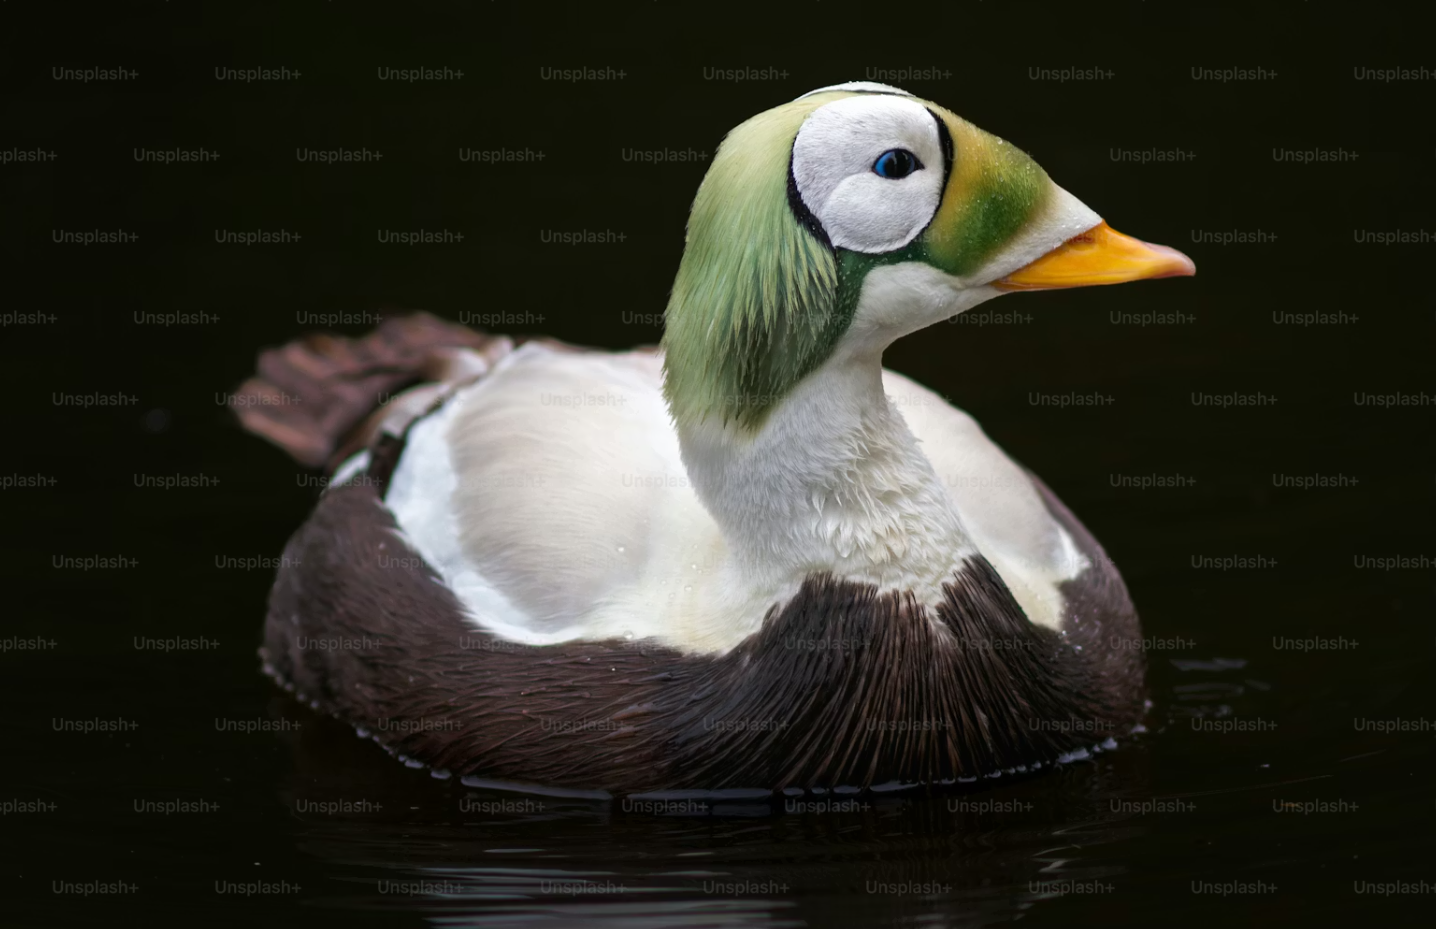
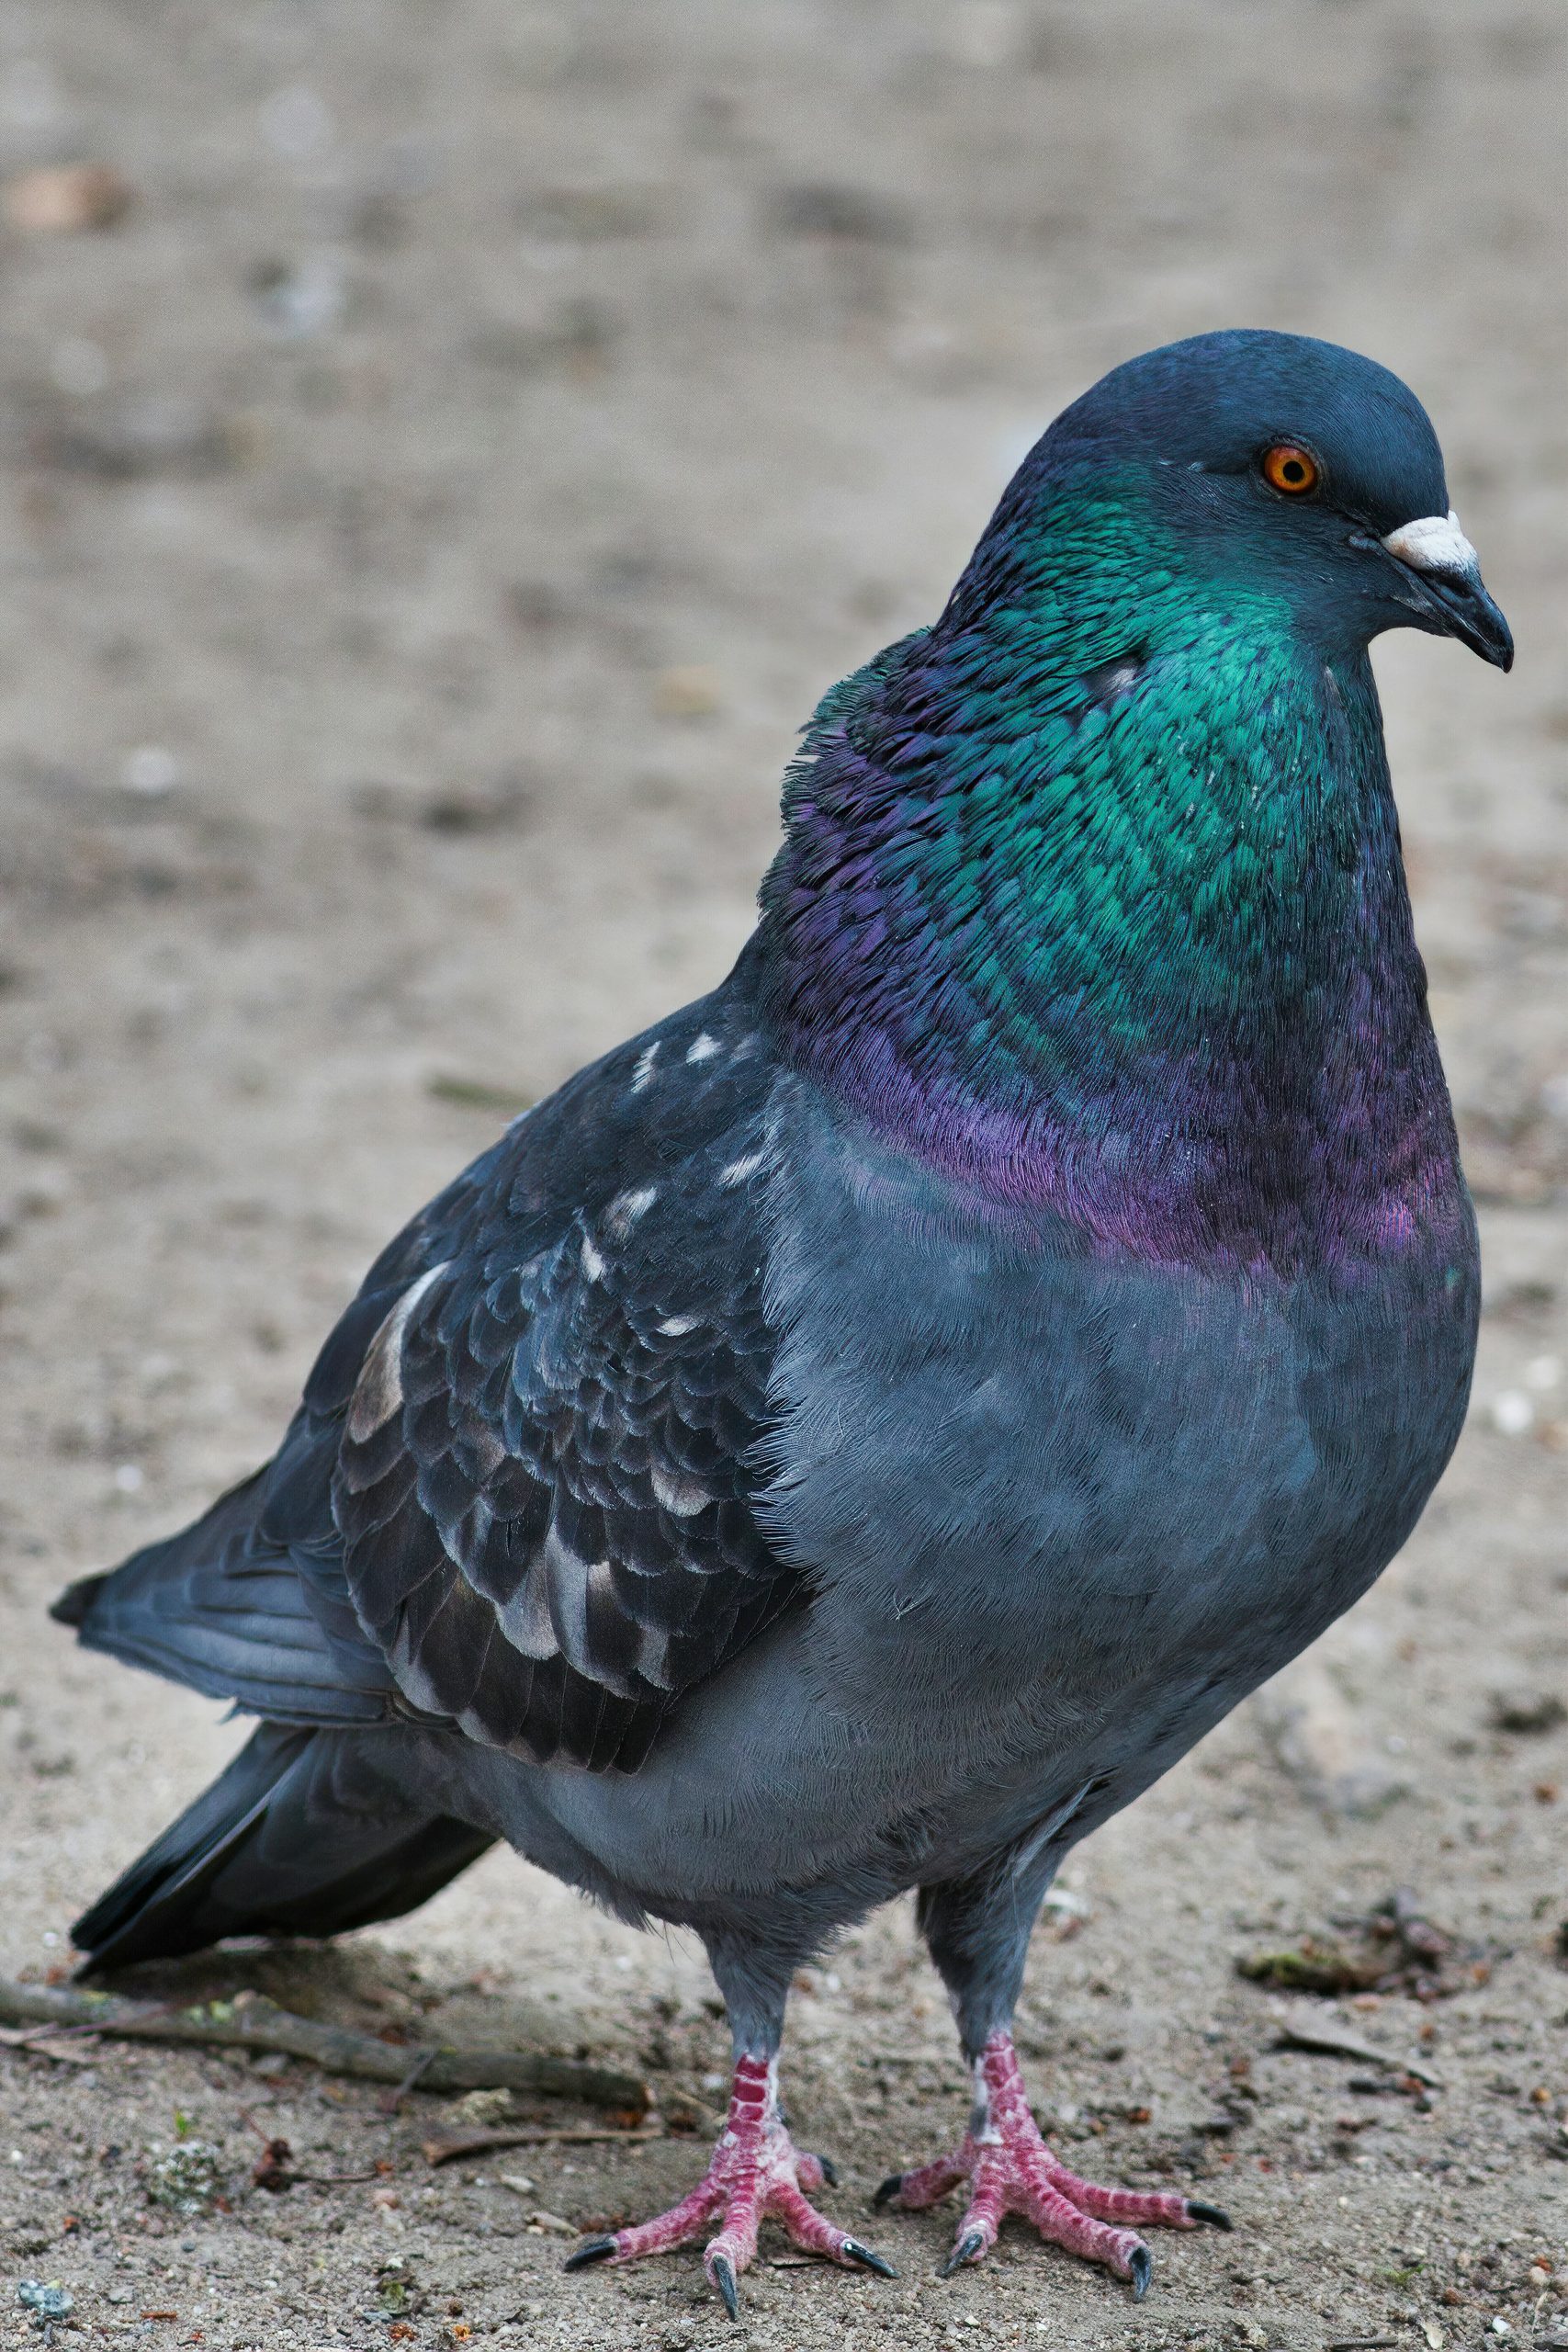
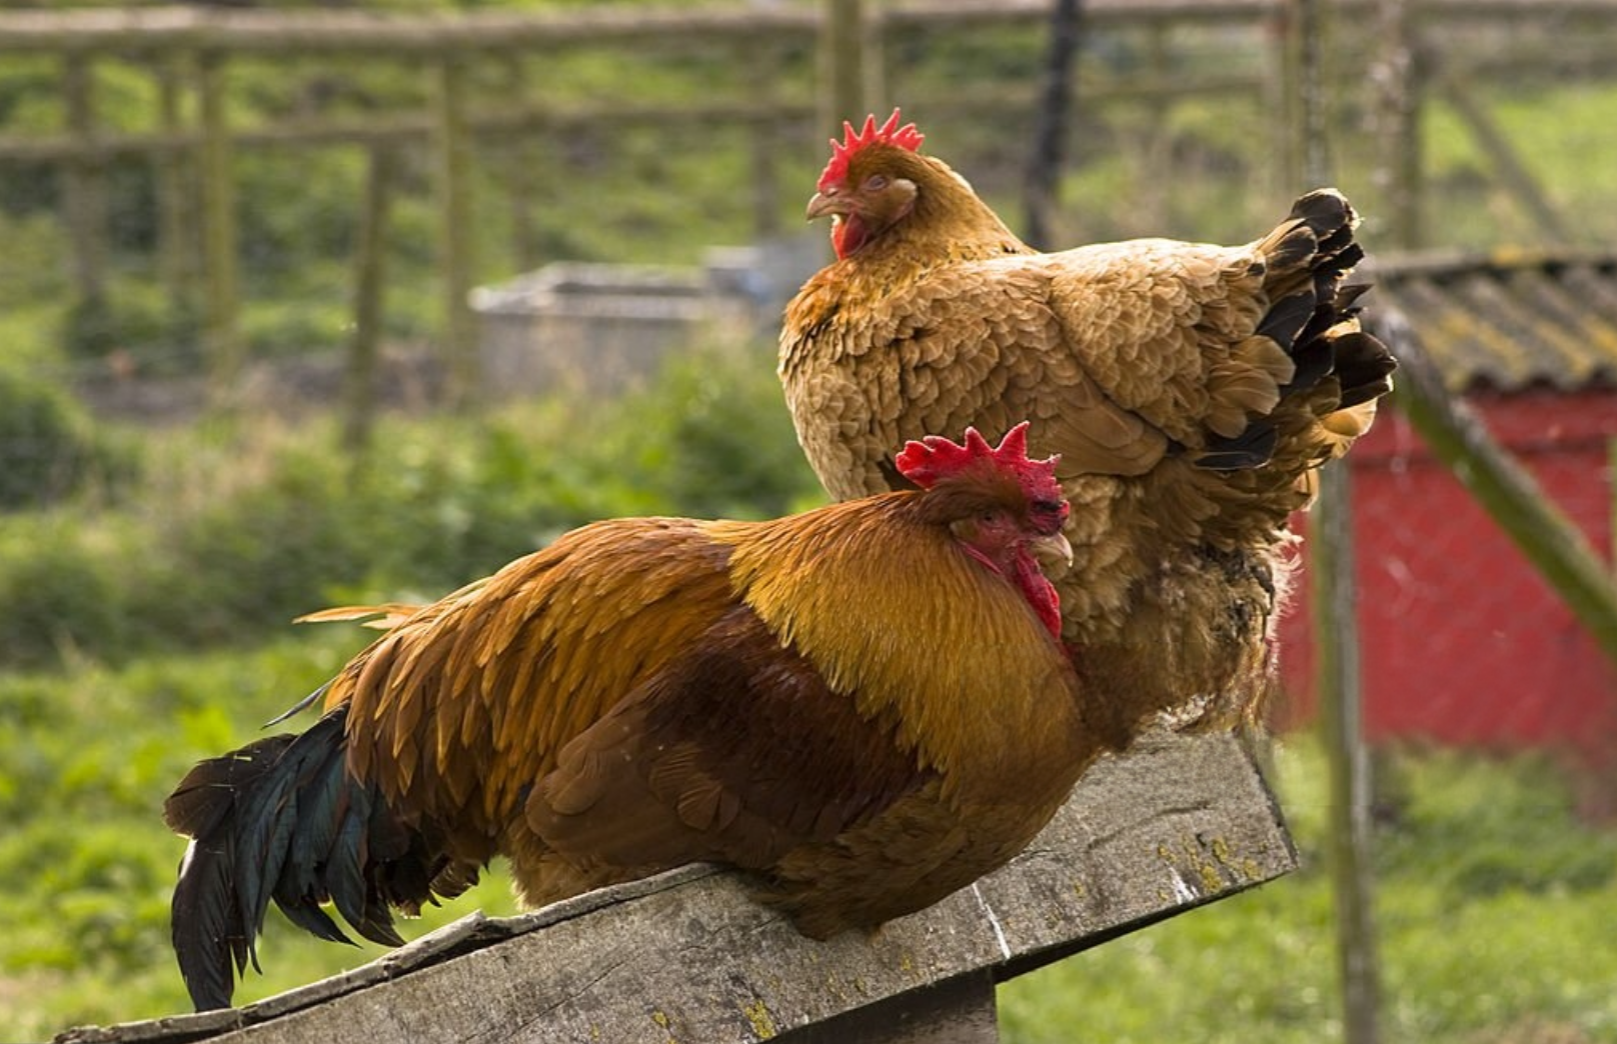
In this watercolor lesson, we will paint birds using two important techniques: negative painting and glazing. These techniques help us create feathers, depth, shadows, and light without painting every tiny detail.
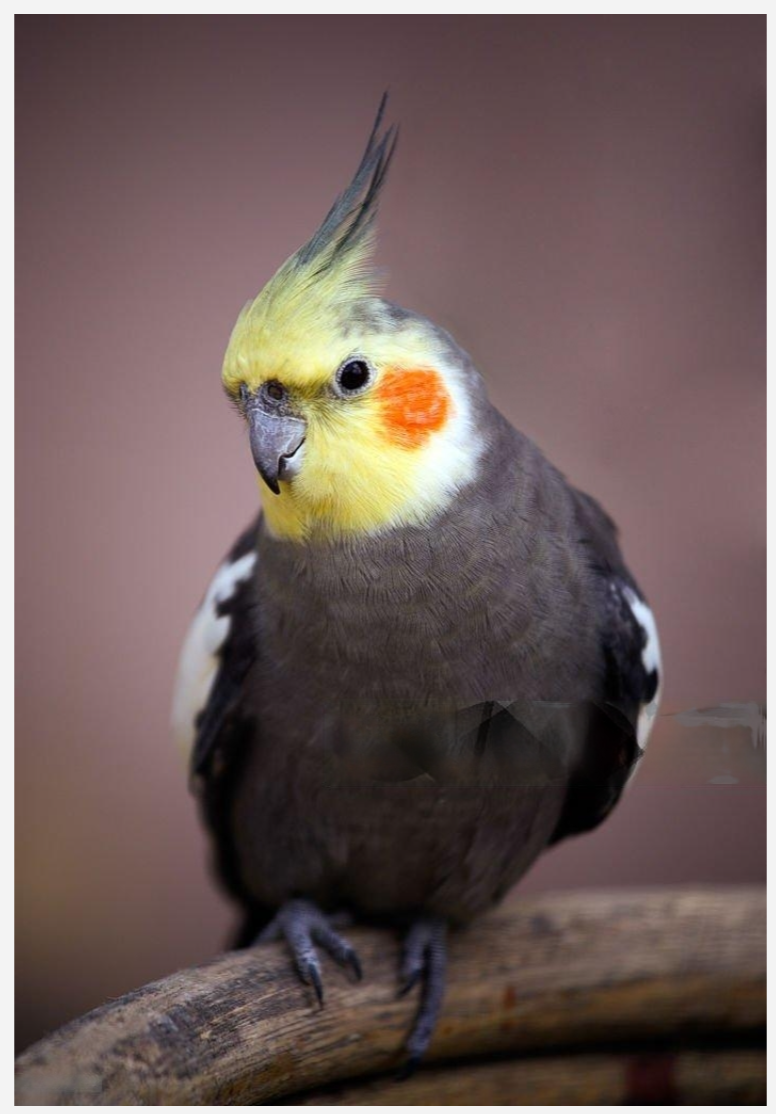
Step-by-Step Process : Click Here

Step 1: Identify the light areas : Mix a tea – coffee like consistency
Look for the lightest feathers and highlights. These areas may remain white or very pale. Protecting these light shapes is important in watercolor.
Step 2: Paint the first light wash
Work from light to dark: Add a light transparent wash of color over the bird. Keep this first layer soft and pale. Allow it to dry completely.
Step 3: Begin negative painting
Instead of painting every feather, paint around some of the lighter feather shapes. The darker paint surrounding them will help the lighter shapes appear.
Negative painting means creating an object or shape by painting the space around it.
Step 4: Let the painting dry
Allow each layer to dry before adding another layer. This helps keep shapes clear and prevents unwanted bleeding.
Step 5: Build darker values
Add another glaze after the previous layer is completely dry. Concentrate darker values beneath the wing, around the head, and wherever the feathers overlap.
Step 10: Evaluate the painting
Where is your lightest light?
Where is your darkest dark?
Did you suggest feathers without painting every feather?
Leave a Reply