Watercolor on the Rocks: The Beauty of Painting Stone: Student Gallery


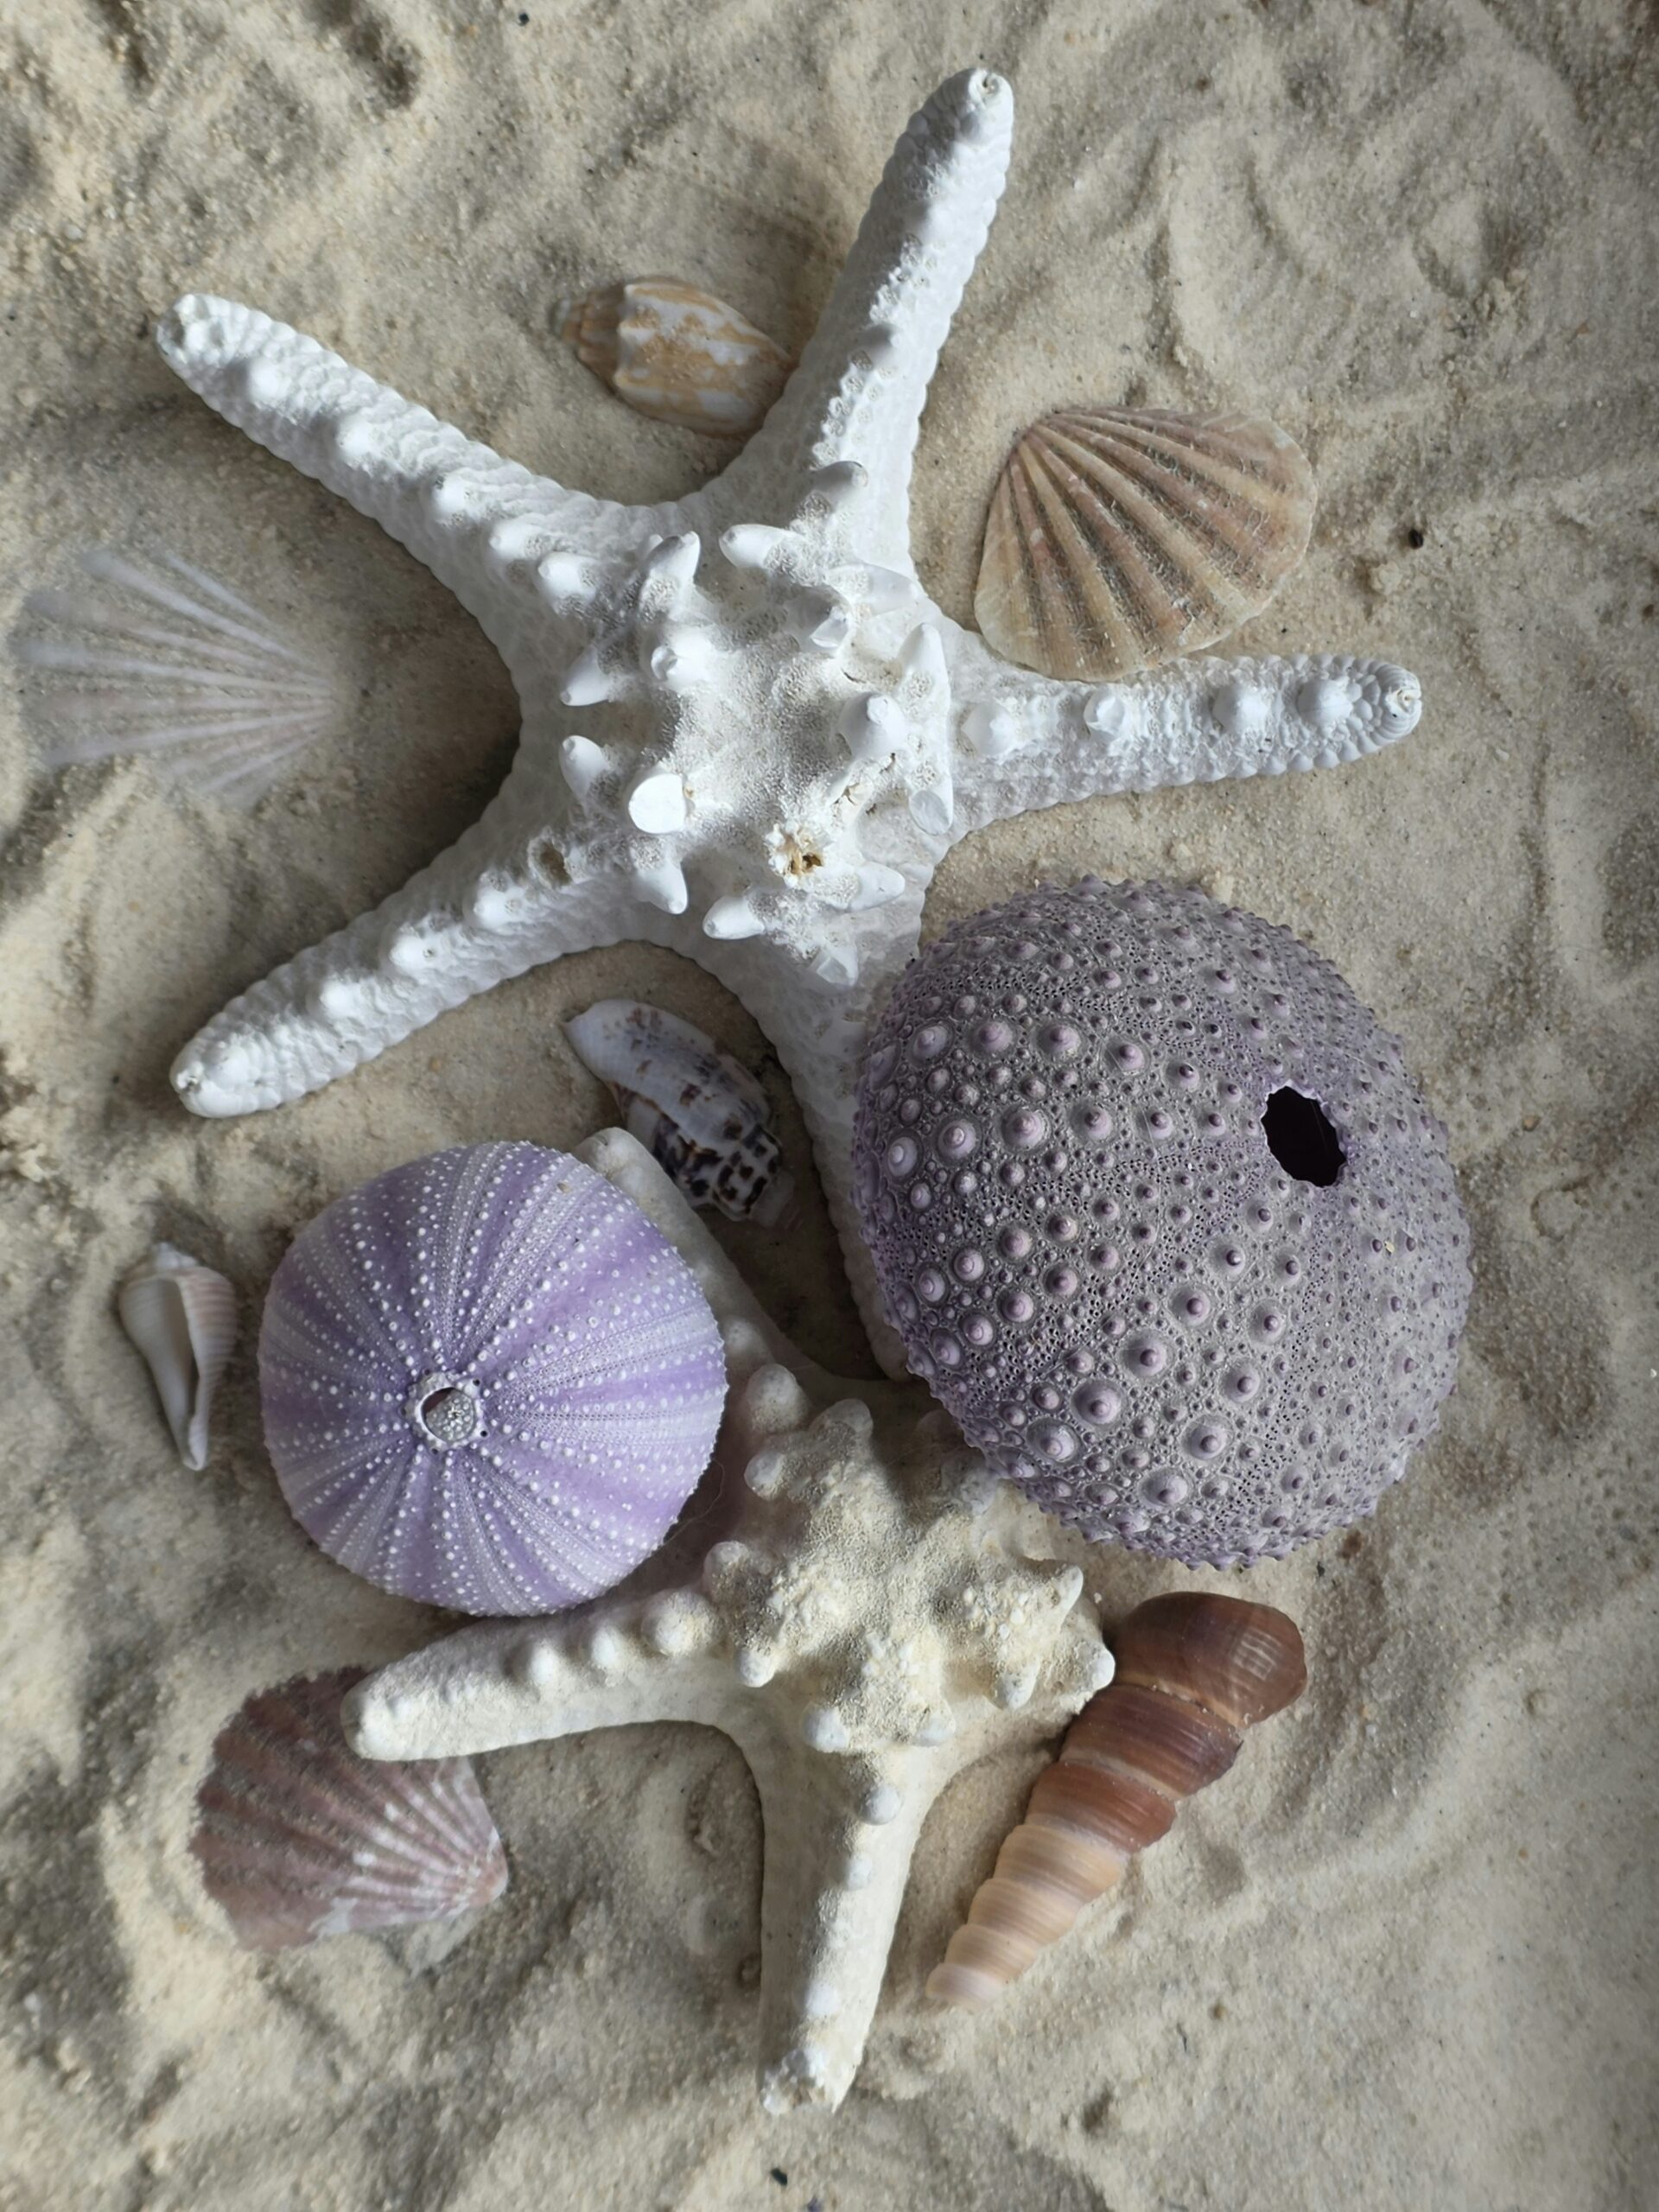
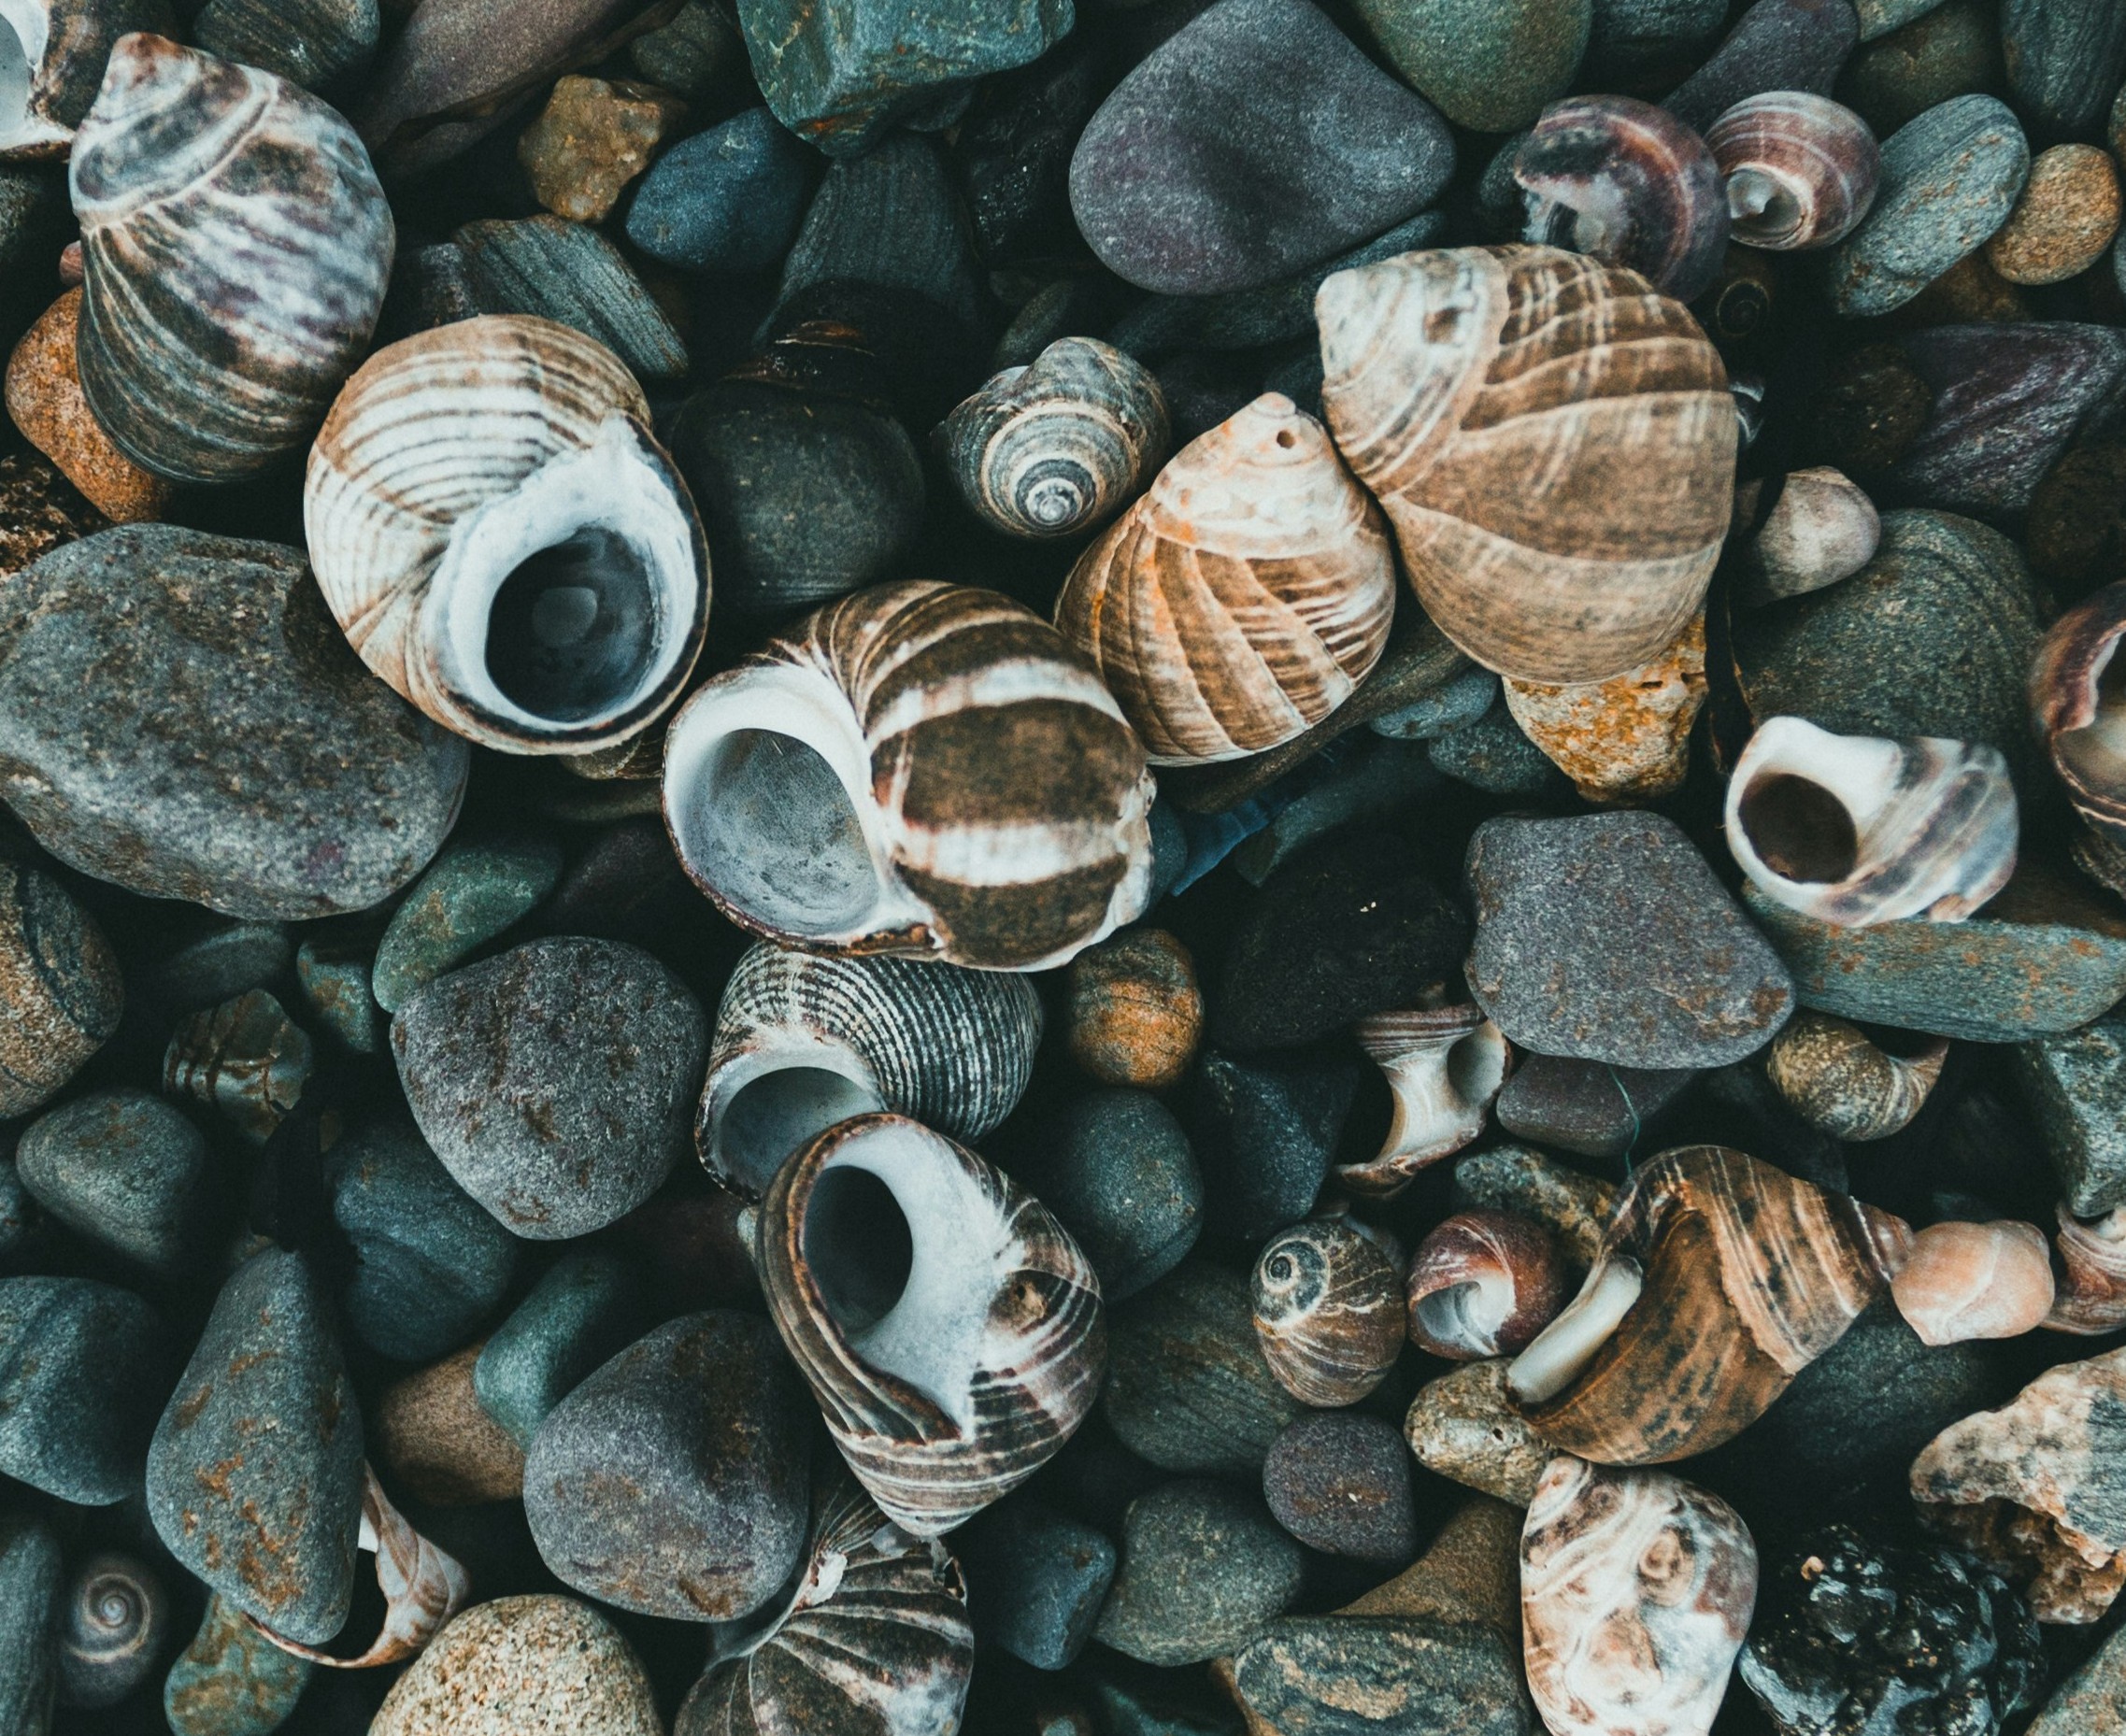
At Home : Visit this previous link for great reference photos CLICK HERE
If you’ve ever looked at a watercolor and felt it had a “glow” from within, or marveled at the depth of a shadow, you were likely looking at the work of a master glazer. Glazing is the process of painting thin, transparent layers of paint over a dry layer beneath.
But here is the secret that turns a flat painting into a powerful one: Glazing isn’t just about adding color; it’s about creating contrast through value changes.
The Glaze: More Than Just Color
In watercolor, we don’t use white to lighten; we use water. And we darken by layering transparent pigments.
“When glazing, you aren’t just tinting the paper.
You are controlling the light.
The paper’s surface acts like a light bulb.
When you add a layer of paint, you are putting a filter over that light“
-Ida Mae
To create a focal point, you need a battle between light and dark. The best way to win that battle is with glazing:
- The Lights: These are the areas where the paper remains untouched, or where only one thin glaze has been applied.
- The Darks: These are the areas where you have patiently layered two, four, or even ten glazes.
By allowing the paint to dry completely between layers, you build up a deep, luminous darkness that feels rich and atmospheric, rather than flat and muddy. Glaze to push the value—make your darks darker against your lights, and watch your subject pop off the page.
Enhancing the Narrative with Texture
Here are three fantastic ways to introduce texture before or between your glazes to enhance the final result:
1. The Cling Film Caverns
This is a fantastic way to create organic, fractured textures that are perfect for rocks, aged walls, or abstract backgrounds.
- How to: Apply a wet-on-wet wash (your first glaze layer) to your paper. While the surface is still glistening wet, take a piece of cling film (plastic wrap), scrunch it up, and lay it gently over the wash.
- The Result: As the paint dries, the plastic creates pressure points, pushing the pigment into beautiful, feathery, and crystalline patterns. Once dry, remove the plastic and you have an incredible textured layer to glaze over later with darker values to accentuate the cracks.
2. The Controlled Splatter
Splatter can add energy, movement, or the suggestion of grit.
- How to: After your first glaze is dry, load a stiff brush (like an old toothbrush or a hog-hair brush) with a darker value of paint. Run your thumb through the bristles to spray fine mist over the area you want to texture.
3. The “Save” and the “Resist” with Masking Fluid
Sometimes, the best texture is preserving the white of the paper.
- How to: Before you even begin your first glaze, use masking fluid to reserve tiny highlights (like sparkles on water, stamens in a flower, or light catching a edge). You can apply it with a brush for lines, or an old toothbrush for a splatter of tiny white dots.
The Golden Rule: Relax, Have Fun, and Practice
Here is the most important thing to remember:
If you feel your shoulders tensing up as you sit and paint, take a breath.
- Relax: You cannot “ruin” a painting; you can only create studies. Some of the most beautiful textures come from “mistakes.”
- Have Fun: Try these techniques on a scrap piece of paper first. Paint a simple study. Glaze it three times. Throw some salt at it. Splatter it. See what happens. The joy is in the discovery.
- Practice: Glazing requires patience (waiting for layers to dry), but the practice itself is meditative. The more you do it, the more you will intuitively know when a glaze is needed, or when a texture is the missing element.
So, grab your brush. Lay down that first wash. Let it dry. Then, start building your world, one luminous layer at a time. Aim for the contrast, chase the texture, but above all, enjoy the process.
South Carolina Watermedia Society: 2026 Competition Winners: Click Here
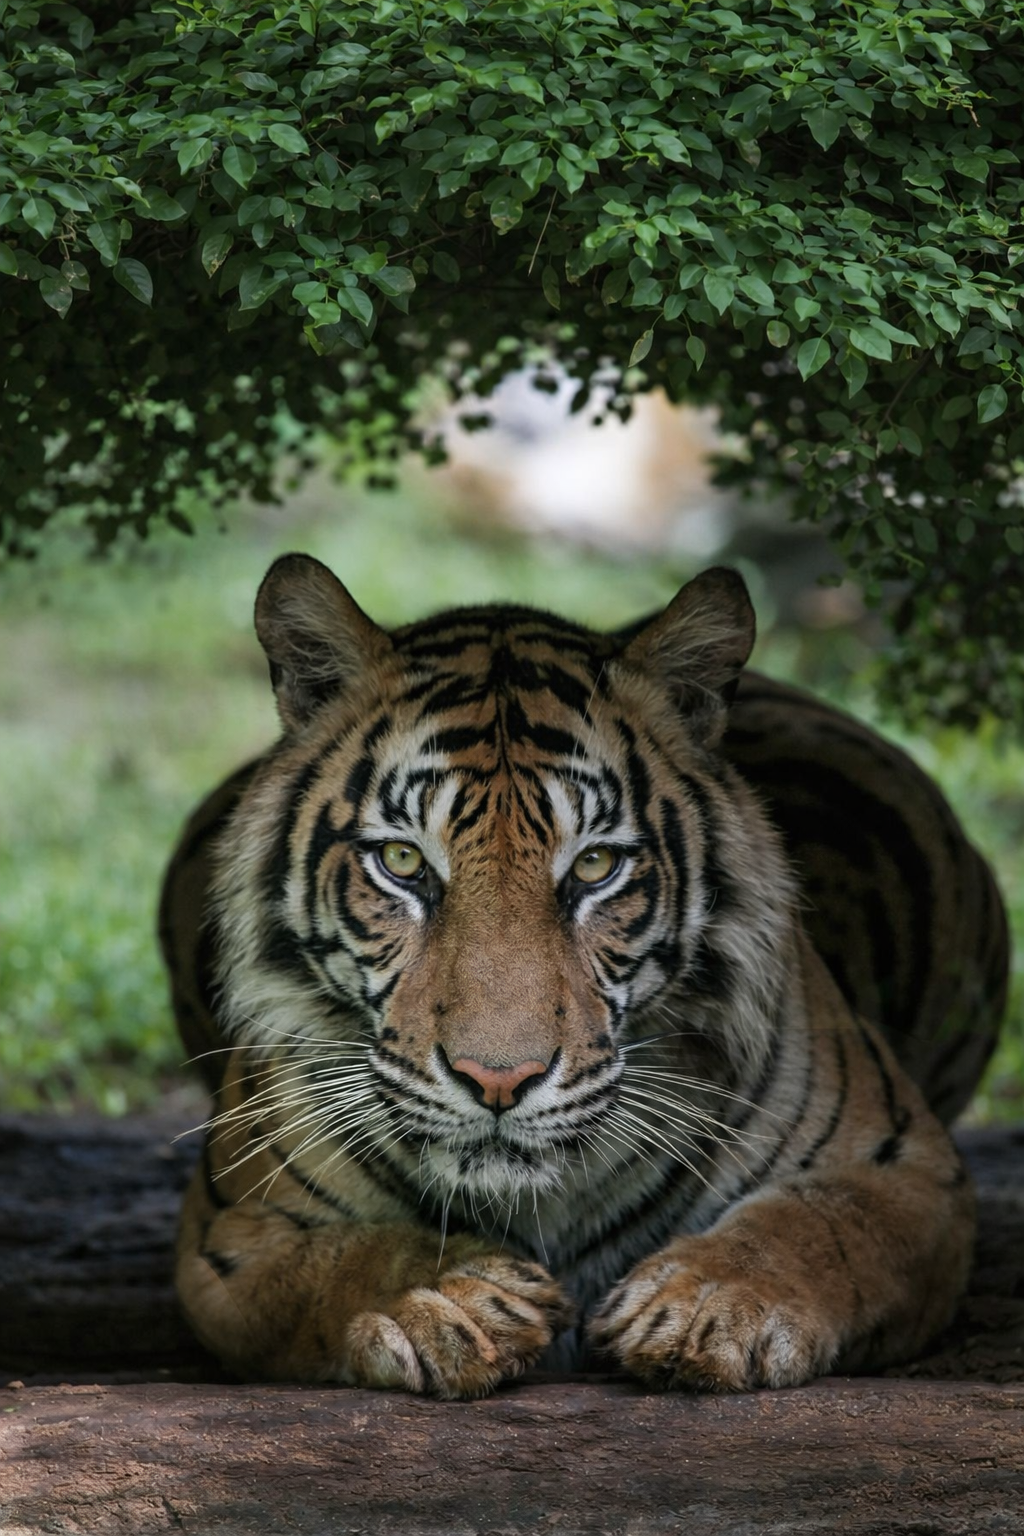
Tiger Image for our next class : Choose One You like and Add to Cotton