Lifting, Blotting, Bleeds & Blooms
That unpredictable dance is why we love watercolor. But unpredictability doesn’t have to mean chaos. This week, we are going to tame the water by learning four core techniques: lifting, blotting, bleeds, and blooms. Then we will use them to paint an underwater world filled with fish, turtles, and drifting plant life.
Part One: The Four Pillars of Water Control
These six techniques will give you conscious control over that relationship.
1. Lifting (Erasing with Water)
Lifting is the act of removing paint after it has been applied. It is the closest thing watercolor has to an eraser.
How to do it:
- Paint an area and let it dry completely.
- Take a clean, damp brush (not soaking wet—blot it on a paper towel first).
- Scrub gently over the area you want to lighten.
- Immediately blot with a tissue or paper towel to lift the loosened pigment.
What it creates: Soft highlights, clouds, streaks of light underwater, or corrections.
1. Wet-on-Dry
Definition: Applying wet paint onto completely dry paper. The pigment stays exactly where you put it, creating hard, crisp edges.
Best for: Details, layering, sharp shapes, architectural lines, and anything that needs precision.
Example: Painting a fish’s eye or the distinct edge of a turtle shell.
2. Wet-on-Wet (also called Bleeding)
Definition: Applying wet paint onto paper that is already wet (either with clean water or a previous wet wash). The color spreads outward like smoke, creating soft, blurred edges where colors bleed into one another.
Best for: Skies, distant water, soft shadows, atmospheric backgrounds, and underwater gradients.
Example: Dropping turquoise into a wet blue wash to create tropical ocean depth.
3. Dragging
Definition: Loading a brush with paint and then dragging it across dry or semi-dry paper at a low angle, often with the brush held almost parallel to the surface. The brush skips across the paper’s texture, leaving broken streaks of color.
Best for: Texture, wood grain, seaweed strands, hair, grasses, and rough surfaces.
Example: Dragging a flat brush across cold-press paper to create the look of drifting kelp or coral ridges.
4. Charging (also called dropping in color)
Definition: Dropping a second, concentrated color into a still-wet wash and allowing it to flow and mix naturally without stirring. The color “charges” into the damp area, creating organic blends and granulation effects.
Best for: Sunsets, varied landscapes, flower petals, and any area needing rich color variation without brushstrokes.
Example: Charging a wet blue wash with a drop of burnt sienna to create a warm, shadowed patch on a turtle shell.
5. Dry Brush
Definition: Loading a brush with paint, then wiping off most of the moisture on a paper towel before dragging it across dry paper. Only the raised texture of the paper receives pigment, leaving speckled, broken marks.
Best for: Sparkling water, sand texture, rough bark, distant foliage, foam, and light glinting on waves.
Example: Running a dry brush loaded with white gouache across dark blue paper to create sea foam or surface ripples.
6. Glazing
Definition: Applying a thin, transparent layer of paint over a completely dry layer of another color. Each layer remains visible, allowing colors to optically mix rather than physically blend on the paper.
Key rule: Wait for each layer to dry completely before adding the next. Use light, tea-consistency washes.
Best for: Deepening shadows, shifting color temperature, creating luminous depth, and correcting color without losing underpainting.
Example: Glazing a thin yellow wash over a dry blue turtle shell to turn it green, while preserving the underlying brushwork.
Quick Reference Card
| Technique | Paper State | Brush State | Edge Result |
|---|---|---|---|
| Wet-on-Dry | Dry | Wet | Hard, crisp |
| Wet-on-Wet | Wet | Wet | Soft, blurred |
| Dragging | Dry or semi-dry | Damp, low angle | Broken, textured |
| Charging | Damp (not soaking) | Concentrated drop | Organic, flowing |
| Dry Brush | Dry | Almost dry | Speckled, rough |
| Glazing | Dry (previous layer) | Thin, transparent | Luminous, layered |
Try This: Technique Sampler
On a single sheet of watercolor paper, divide it into six small squares. Practice each technique once:
Glazing: Paint a light blue square. Let dry. Paint a thin yellow square directly over it. Observe the green that appears optically, not by mixing.
Wet-on-dry: Paint a small blue square. It should have four sharp corners.
Wet-on-wet: Wet the paper first, then drop in blue. Watch the edges disappear.
Dragging: Load your brush, tilt it low, and drag across dry paper.
Charging: Paint a damp yellow square, then drop red into the center.
Dry brush: Load, blot, and drag quickly across rough paper.
Part Two: Color Mixing
The Underwater Palette
- Ultramarine Blue (warm, purple-leaning blue)
- Phthalo Blue (cool, green-leaning blue)
- Turquoise or Viridian (for tropical waters)
- Burnt Sienna (for warm shadows )
- Yellow Ochre or Lemon Yellow (for sun rays and fish fins)
- Paynes Grey (for deep, dark depths)
Mixing Chart (Paint these into your sketchbook)
| Mix | Result |
|---|---|
| Cobalt Blue+ a touch of Burnt Sienna | Deep, shadowy teal |
| Phthalo Blue + a touch of Lemon Yellow | Bright, electric aquamarine |
| Turquoise + clean water | Shallow, sandy water |
| Paynes Grey + Cobalt Blue | Midnight depths |
| Burnt Sienna + Yellow Ochre | Warm, sandy bottom |
Homework
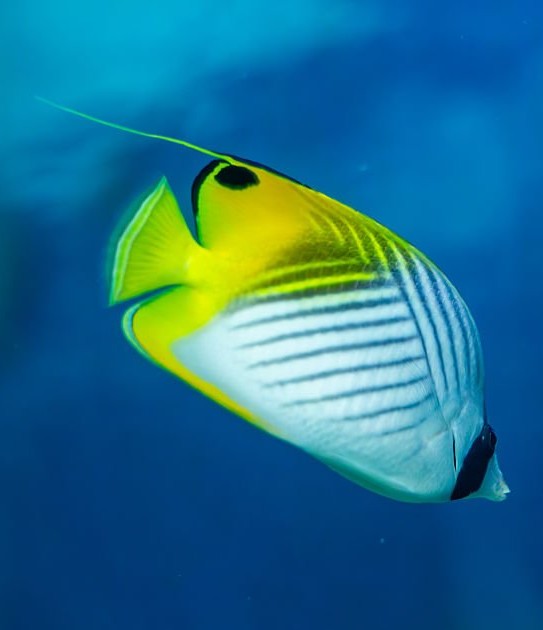
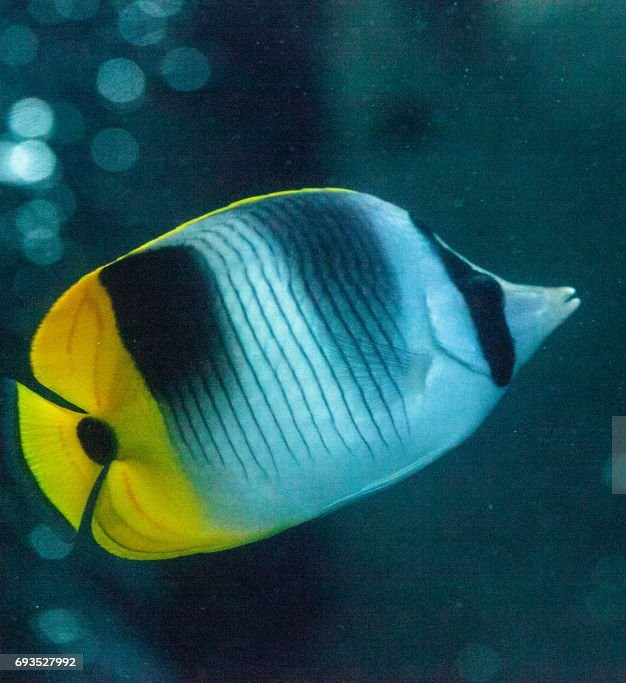
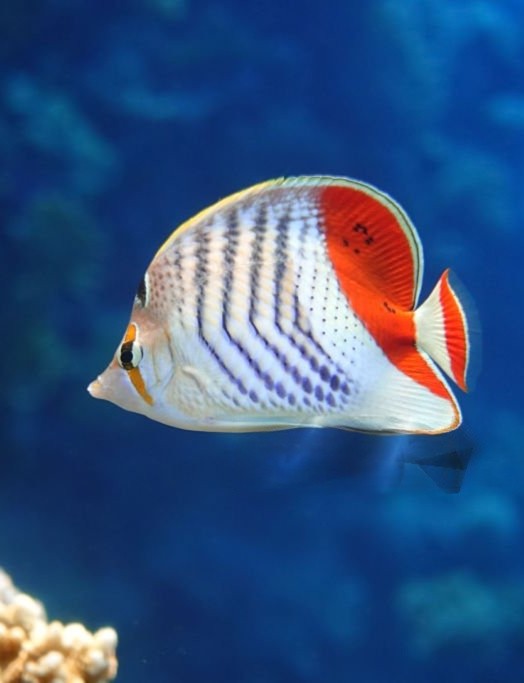
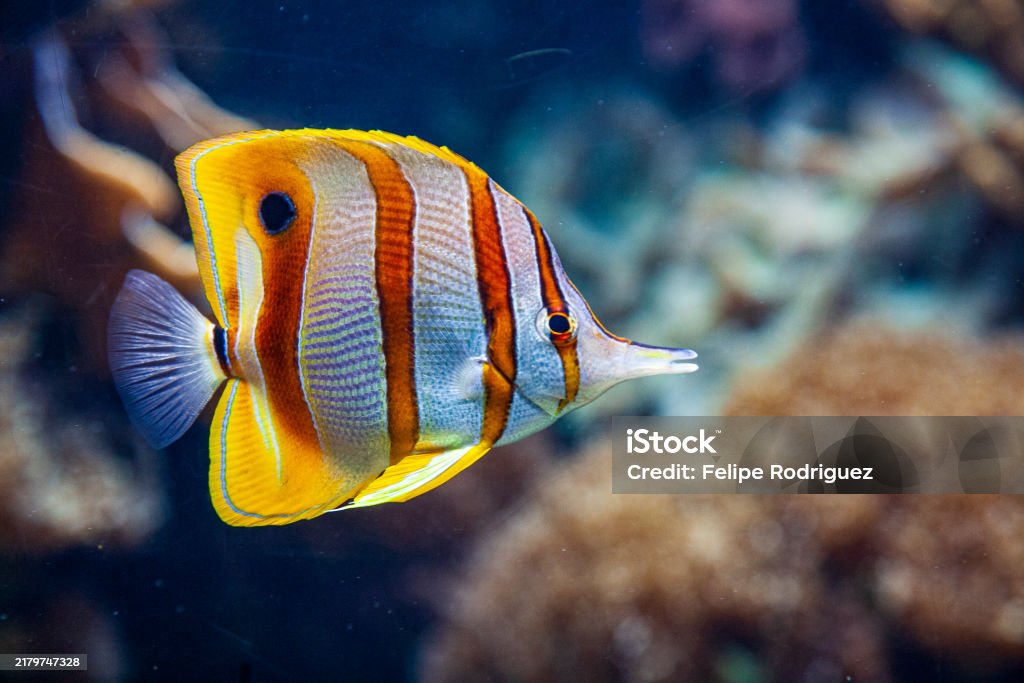
Create an Underwater Scene : See Butterfly fish below
Now you combine everything. Your goal is not a scientific illustration. Your goal is a feeling of being underwater, but light filtering down, shapes drifting, edges soft and hard by turns.
Step-by-Step Instructions
Step 1: The Background Bleed (Creates Depth & Atmosphere)
- Use frisket to keep the white of the paper while you paint your background. Wet your entire paper with clean water using a large brush.
Step 2: The Light Rays (Using Lifting)
- While wet, drop in diluted Cerulean Blue near the top (surface), Phthalo Blue in the middle, and a touch of Paynes Grey near the bottom (depths).
- Tilt the paper slightly. Let the colors bleed into each other.
- Lift the color out of the areas you want to lightend
- Finally, Do not touch it for 5 minutes. Let it dry completely.
Step 3: The Sea Floor
- Mix a sandy color (Burnt Sienna + Yellow Ochre + lots of water = tea consistency).
- Paint a loose, uneven shapes for the plant life and rocks
- Use dry brushing to create the background and show texture
Step 5: The Turtle or Fish (Combining All Techniques)
Choose one main creature.
For a Sea Turtle:
- Remove the frisket
- Create an underpainting. Let colors bleed inside the body.
- While damp, blot the top of the shell with a tissue to lift highlights.
- Once dry, paint dark spots on the flippers using a tiny brush
When You Are Finished
Sign your name in the bottom corner.
Share Your Work
Bring your underwater scene to class so I can see your blooms, bleeds, and beautiful mishaps. The most magical underwater worlds are the ones where the painter let the water have a little bit of control.
Next week: We will shake off the water and practice painting shadows on land !
________________________________________________________________________
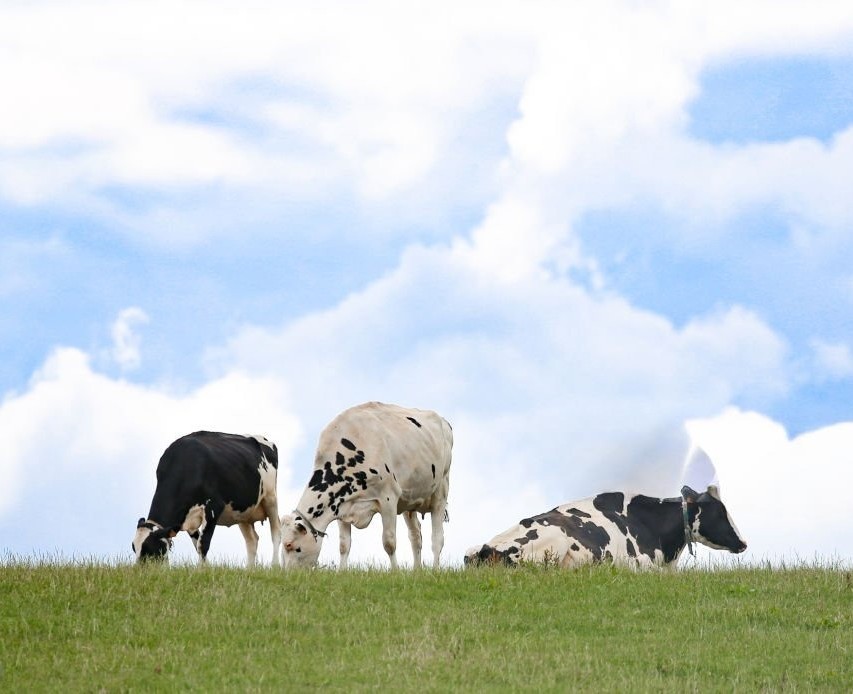
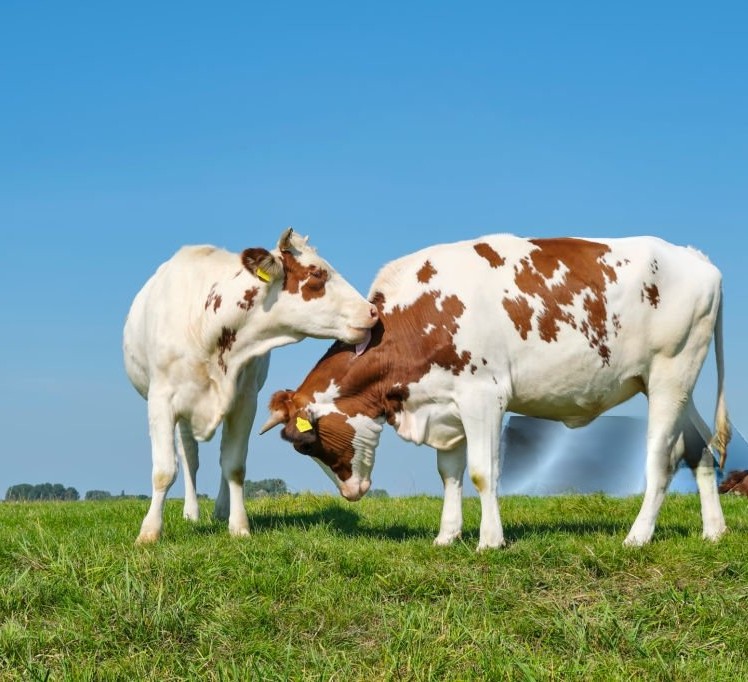
Homework : Transfer one of the cow images to cotton paper