
Lesson Title: The Glazed Door: Building Depth with Shadows
YouTube Video : Click Here
Core Concept: This lesson explores the power of glazing (layering thin, transparent washes) to create form, depth, and realistic shadows. Artists will paint a simple door as a vignette, learning how to gradually build up value and temperature in their shadows through multiple transparent layers.
Number of Glazes on the Door: 5 (explicitly for shadow development)
Learning Objectives: By the end of this lesson, students will be able to:
- Understand and apply the technique of glazing with transparent watercolor.
- Identify light source and cast shadows on a simple form (a door).
- Build depth and form by applying a minimum of five distinct glazes to shadow areas.
- Control water-to-paint ratio to achieve transparent washes.


Artwork by John Lovett : Australian artist working in watercolor and ink.
Part 1: Introduction
What is a Vignette? Tutorial
“A vignette in painting is a technique where the image fades gradually into the background, usually leaving the edges of the paper unfinished or very soft. It’s like a dream or a memory. The focus is entirely on the central subject, which in our case is the door. We won’t paint a full background; we’ll let the subject dissolve into the white of the paper.”
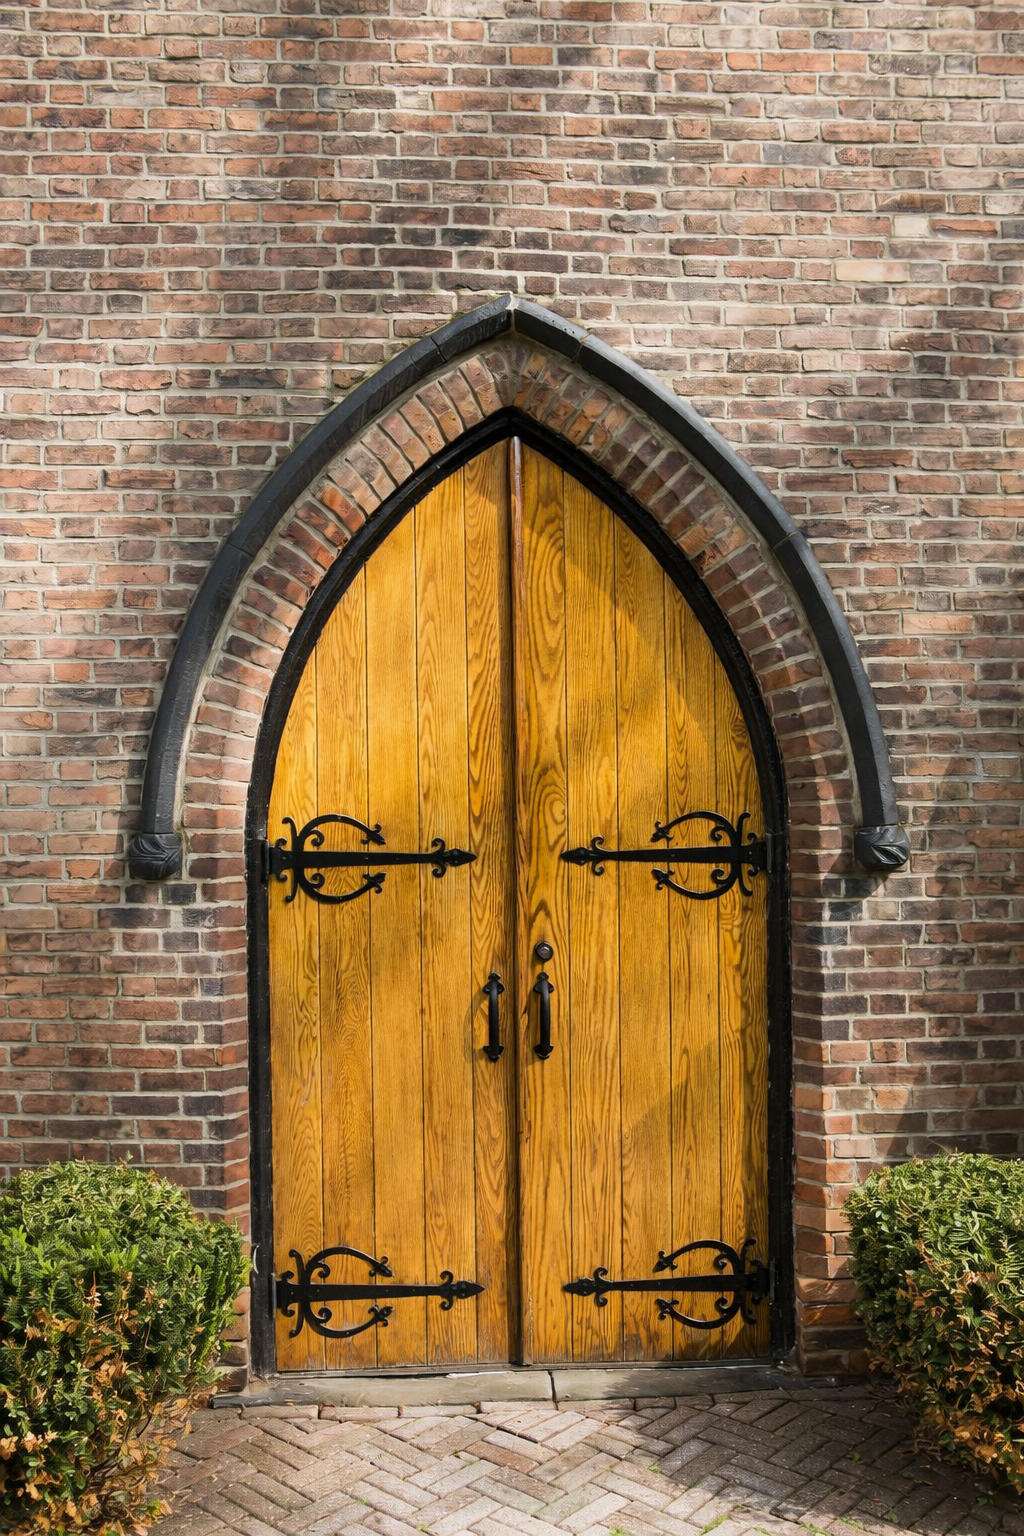
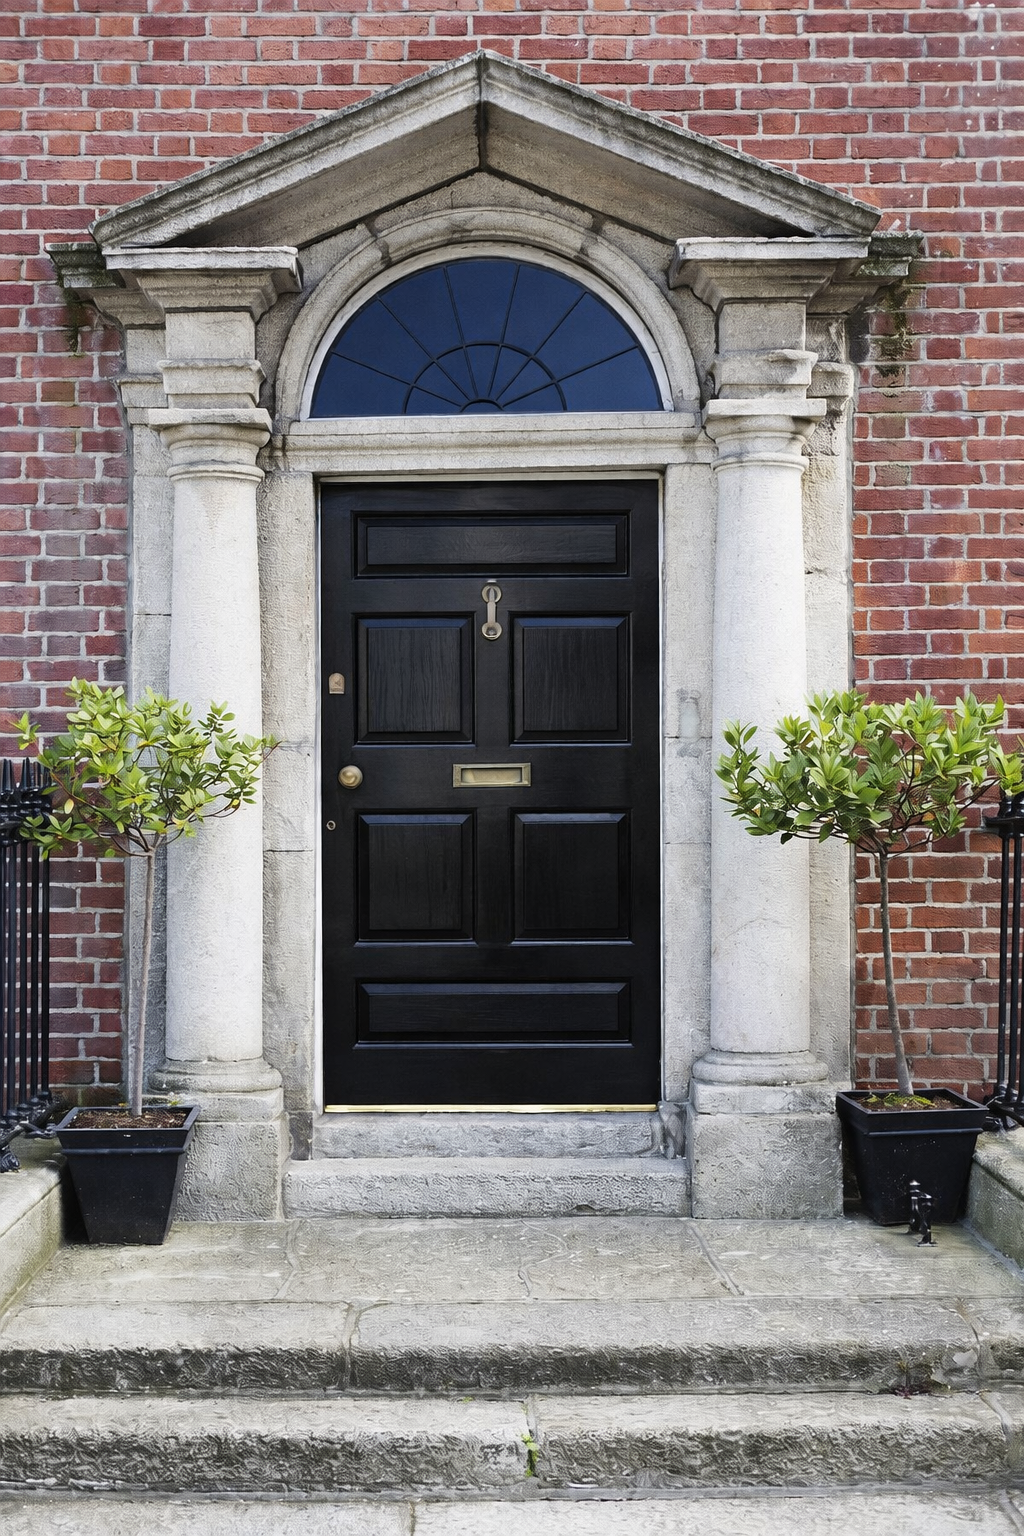
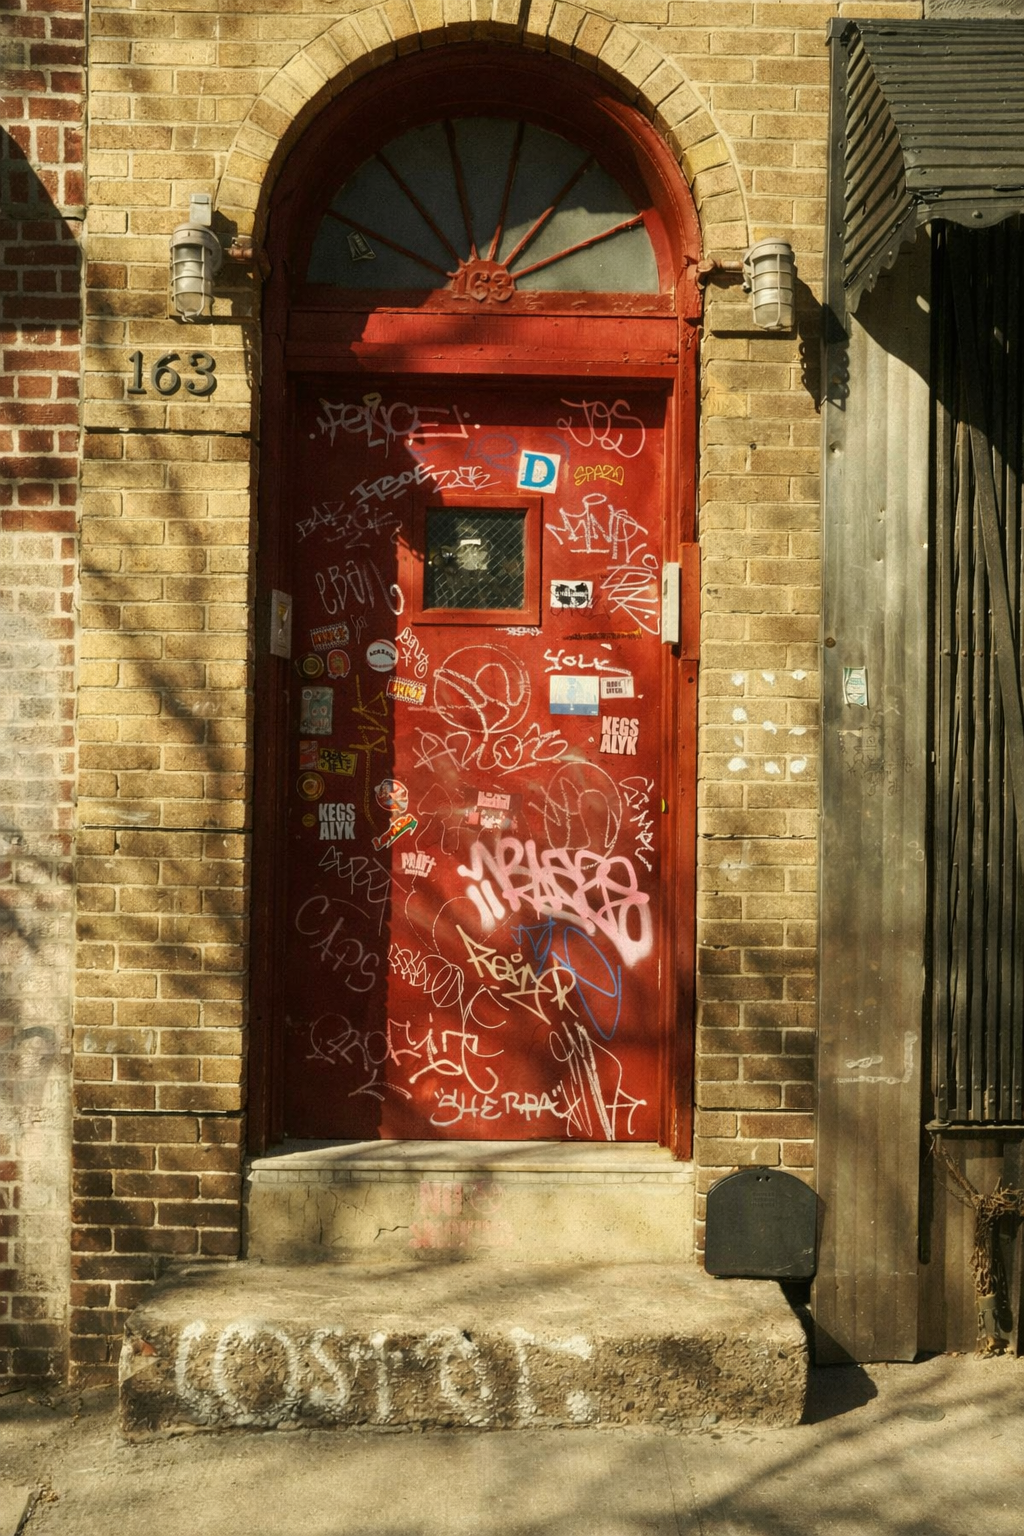
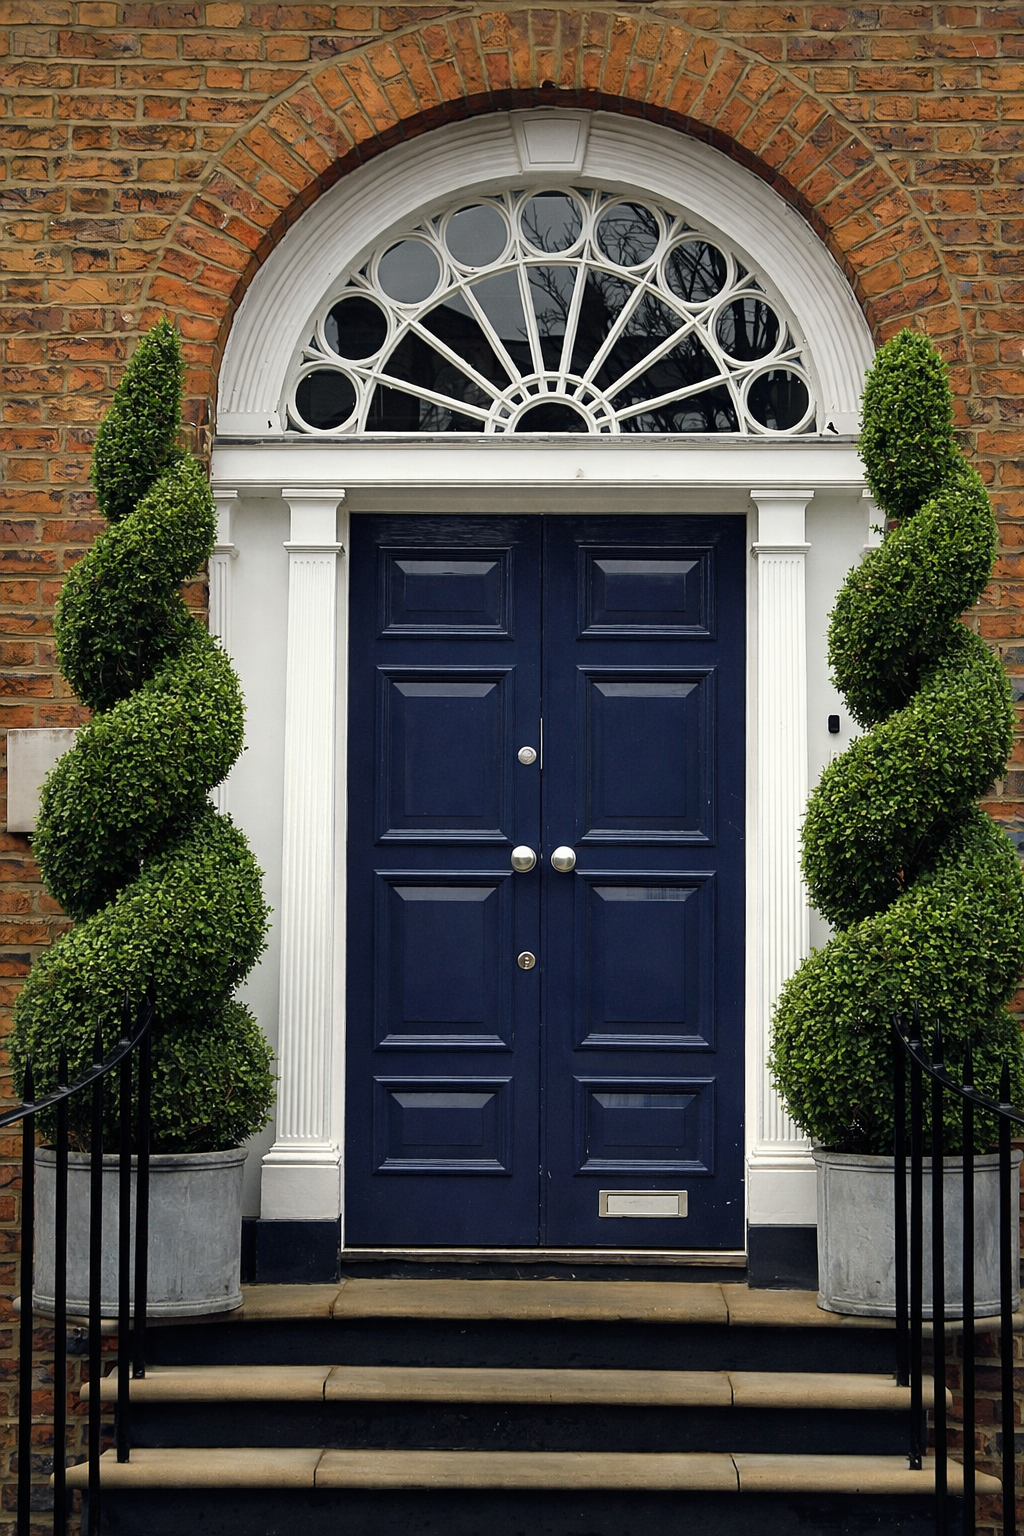
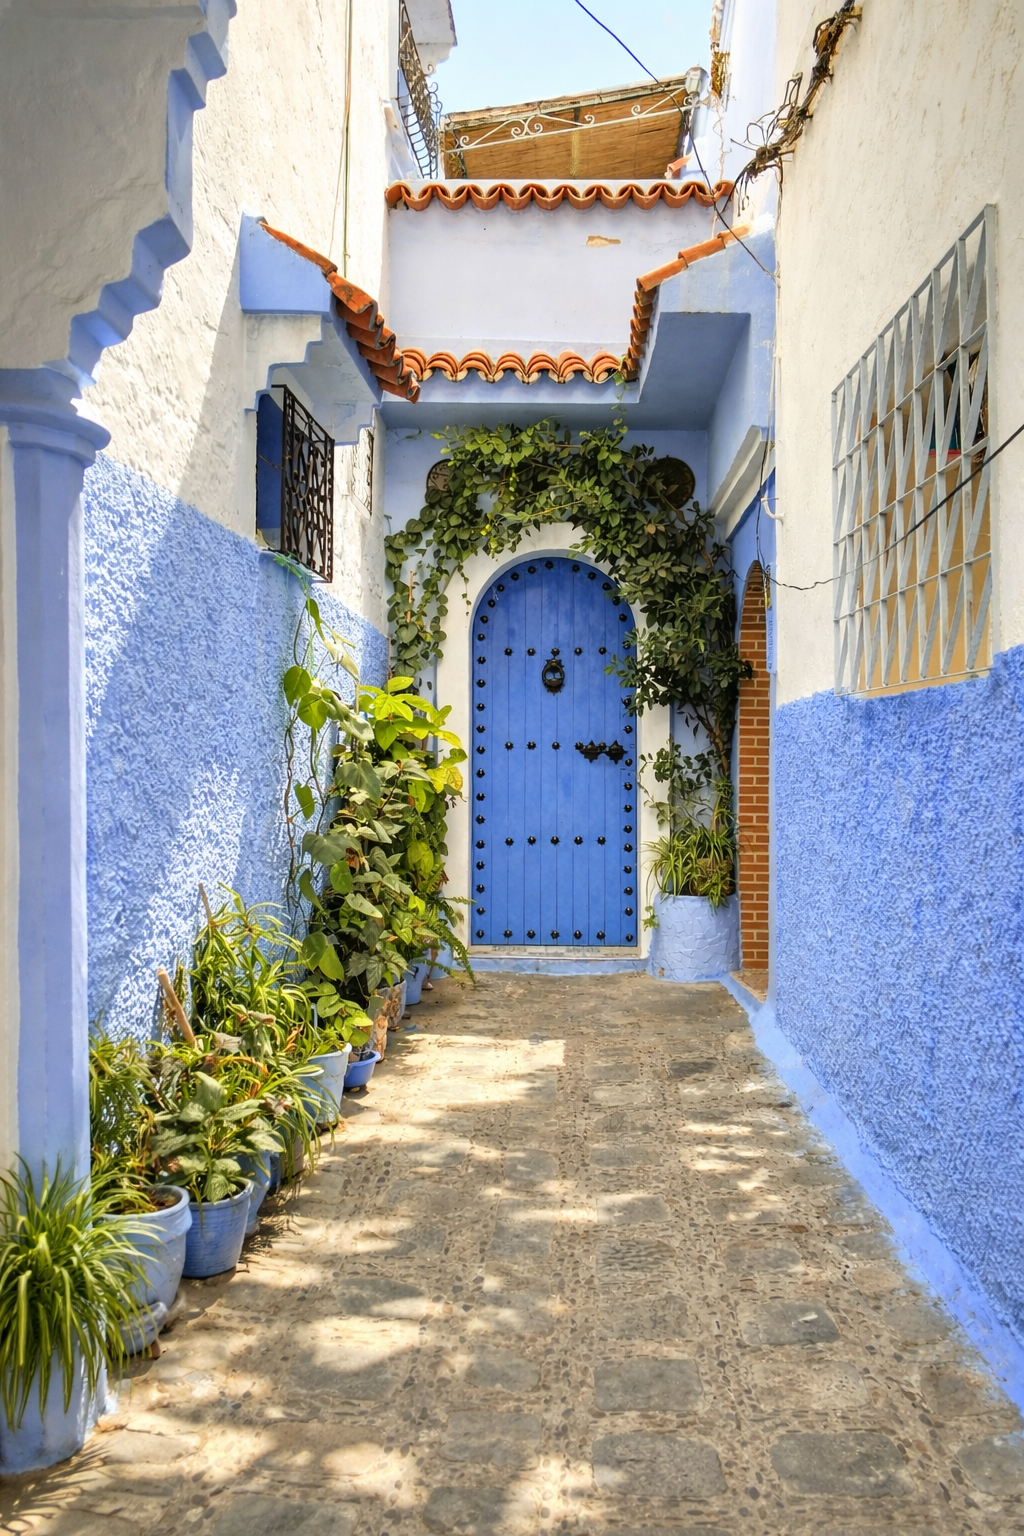
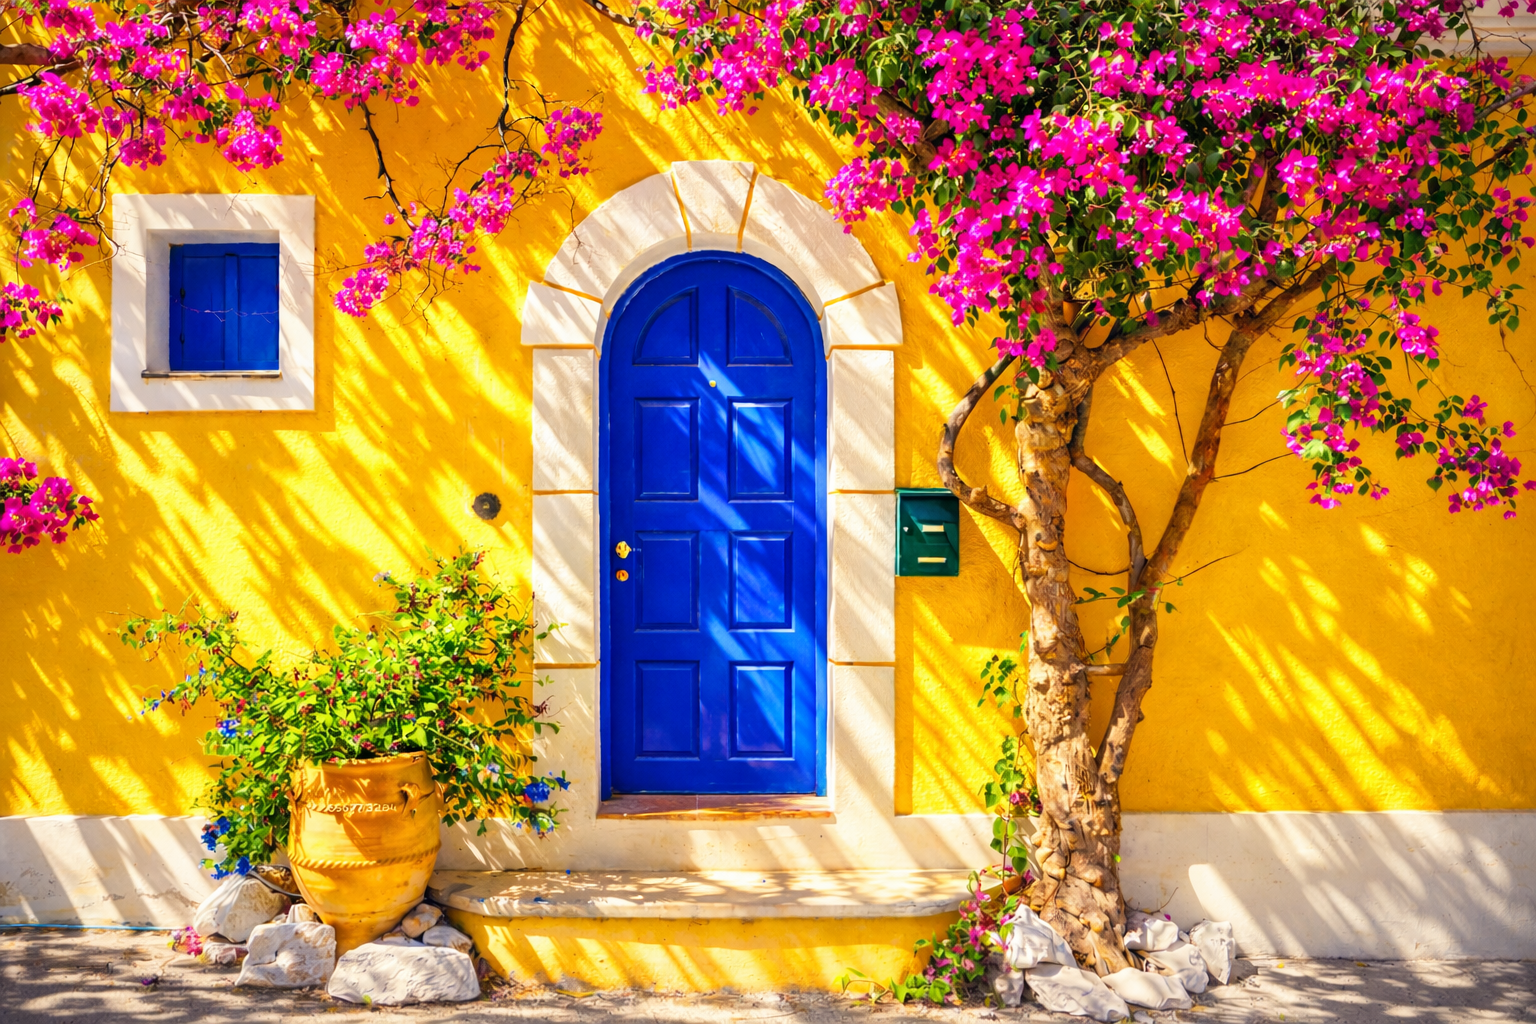
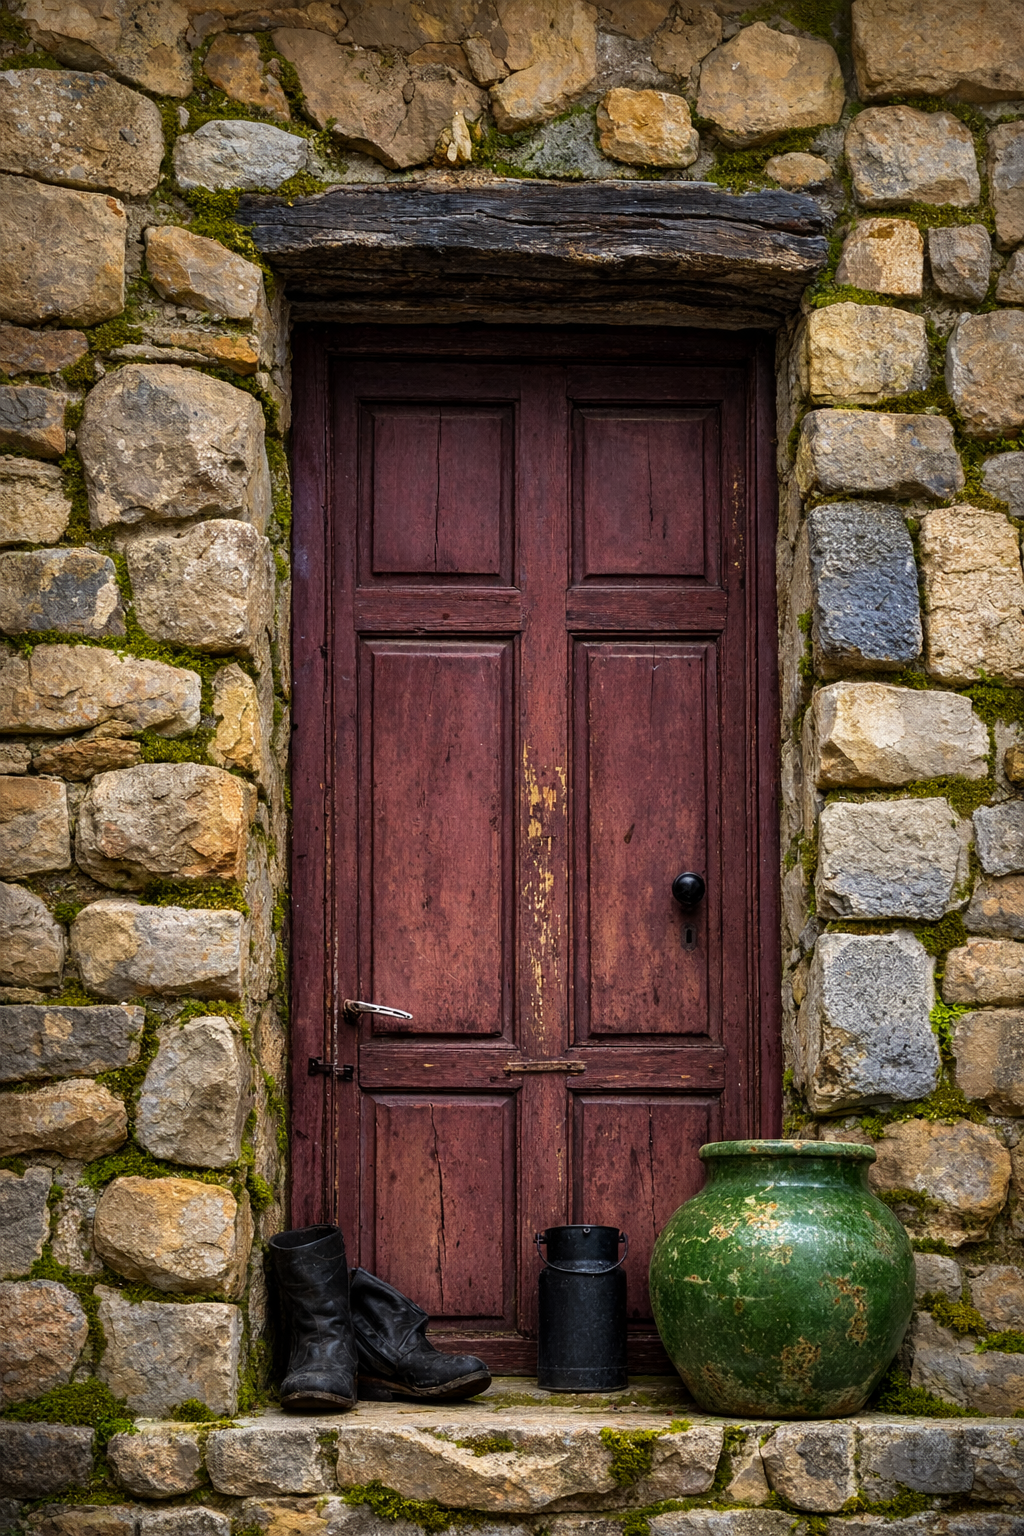
Choose your Door to Begin : Print and Draw onto Cotton Paper
Sooooo Many Doors!
1. The Magic of Glazing for Shadows
- “Glazing means painting a thin, transparent layer of paint over a previously dried layer. Watercolor is perfect for this because of its transparency. Light passes through the new layer, reflects off the paper or the layer below, and back through to your eye. This creates a luminous depth that you cannot get from mixing paint on your palette.”
- Core Idea: We will build our door’s shadows not with one dark color, but by layering transparent blues and browns.
Part 2: Step-by-Step Painting
Step 2: Glaze #1 – The First Wash of Color
- Establish the local color of the door and the first hint of shadow.
- Action: Wet the entire door area with clean water. While the paper is damp (not soaking), apply the light wash over the entire door. This creates a soft, unified base. Let this layer dry completely. Patience is vital.
Step 3: Glaze #2 – Defining the Form Shadows
- Goal: Start to separate the planes of the door.
- Mix: A thin, transparent glaze of Payne’s grey mixed with blue or pink.
- Action: Identify the areas away from the light source. This includes the recessed panels and the side edge of the door. Apply the warm and cool shadow colors. Glaze only to these shadow areas.
- Let this layer dry completely.
Step 4: Glaze #3 – Deepening the Shadows & Introducing Warmth
- Goal: Increase the depth and add complexity to the shadows.
- Mix: A thin, transparent glaze of shadow color.
- Action: Apply this glaze to the same shadow areas as Glaze #2, but perhaps in a slightly smaller area, focusing on the deepest parts of the recesses.
- Let this layer dry completely.
Step 5: Glaze #4 – The Cast Shadow
- Goal: Paint the shadows the door throws onto the ground/step.
- Observation: Look at where the light source is. The cast shadow will be directly opposite.
- Action: Paint the shape of the cast shadow. Keep the edges closest to the door sharper and allow the edge farther from the door to soften slightly
- Let this layer dry completely.
Step 6: Glaze #5 – The Accents
- Goal: Add the final, deepest accents to anchor the door and give it definition.
- Mix: Create a deep, rich dark by mixing a small amount water with your shadow hue.
- Action:
- Paint a thin line in the deepest crevice of the door’s recessed panels.
- Darken the area where the door meets the frame in the shadow side.
- Add a small, dark shadow under the door handle to attach it to the door.
- Deepen the area of the cast shadow closest to the door.
- Let this layer dry.
Leave a Reply