Lucky You! We will be creating a Clover Painting
I grew up in Mississippi where time moved slow enough to find a lucky 4-leaf clover. We’d sit in the grass, fingers searching, eyes darting: three leaves, three leaves, four? After I found a lucky one I would try to put it in my bible before it wilted in my pocket as I ran off to chase my siblings. But I am grateful to have learn the art of noticing, a skill that will stick with me forever. -🍀

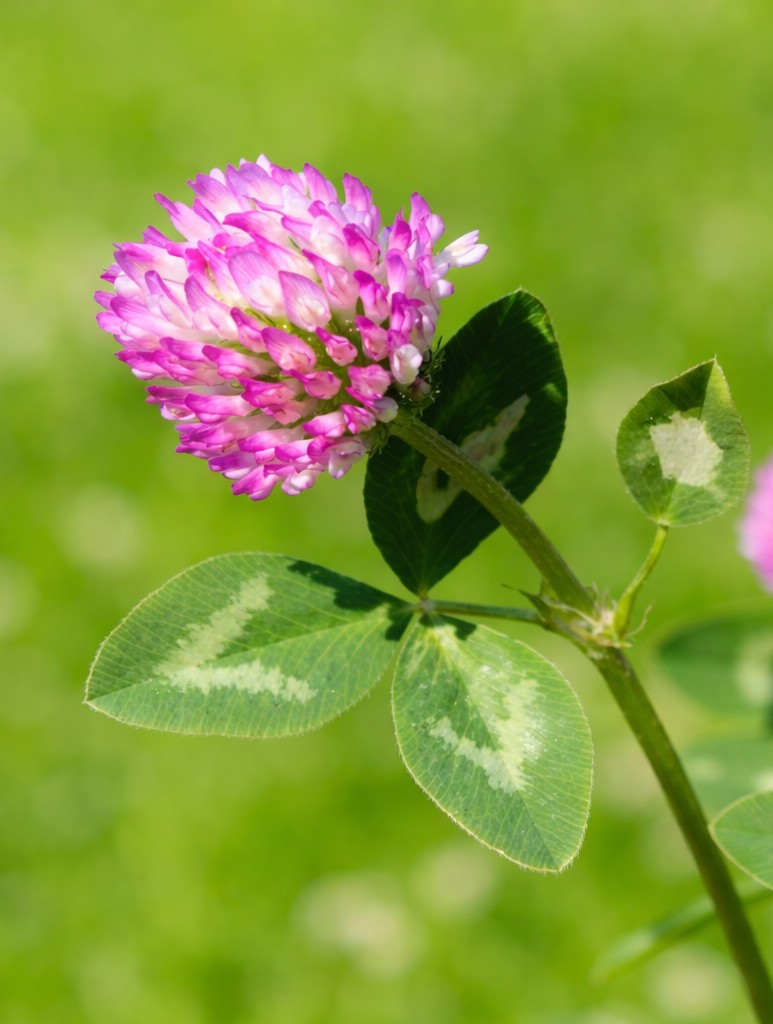
There’s something quietly magical about painting clover. It’s humble and often overlooked. Clovers become a perfect teacher of light, shape, and patience. This project brings together negative painting, frisket, and observation to create a layered watercolor that feels both calm and intentional.
Why Clover?
Clover grows in clusters, overlaps naturally, and repeats simple shapes with endless variation. That makes it ideal for learning negative painting. You will paint around shapes instead of filling them in. Each leaf and bloom emerges because of what you leave behind.
Materials
- Watercolor paper (cold press works beautifully)
- Watercolors (yellow, light green, medium green, dark green, pink)
- Masking fluid (frisket)
- Old brush for frisket
- Soft pencil
- Clean water & paper towel
- Patience (seriously—it’s part of the medium)
Step-by-Step: Negative Clover Painting
Paint Along with this video : https://www.youtube.com/watch?v=n5_Uv7l04-8
Step 1: Yellow Underpainting (No Pink Yet)
Begin by adding frisket to all the flowers and a few short stems to keep them until the end.
Nest add a transparent yellow and yellow green wash.
This is your light source the glow that will peek through later layers.
- Use frisket to protect the shapes you want to stay bright.
- Wash yellow across the entire area.
At this stage, everything feels soft and hopeful. Let it dry completely.
Step 2: Light Green Background
Now we start painting around the clover..
- Paint a light green wash around leaf shapes, not inside them.
- Let some yellow still show through for warmth.
This is where negative painting begins to click. You’re defining form by subtraction.
Step 3: Medium Green Layers
Depth comes from repetition.
- Paint a medium green around selected leaves to push them forward.
- Overlap shapes naturally, the way clover grows in real life.
- Don’t outline, yet let edges stay soft and watercolor do the work.
Step 4: Dark Green & Pink Accents
This is the finishing layer.
- Use dark green to anchor the deepest shadows.
- Remove the frisket to complete the flower
- Add pink to the clover blossoms sparingly in light washes
- Contrast is your friend here, but restraint keeps it elegant.
You Tube Video : See how Watercolor Artist use this technique : Click Here
Suddenly, the clover appears. Not because you painted it directly—but because you honored the space around it.
Student works


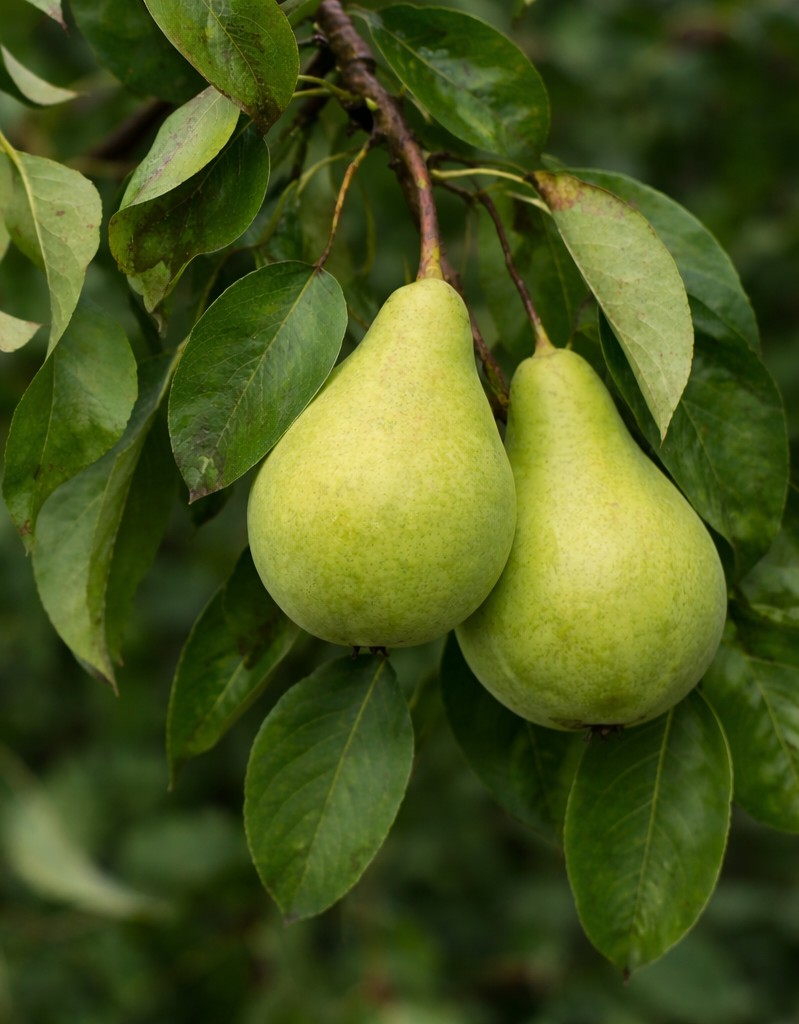
Challenge yourself to creating this pair of pears using Negative Painting!
You can do it ! Take the Challenge

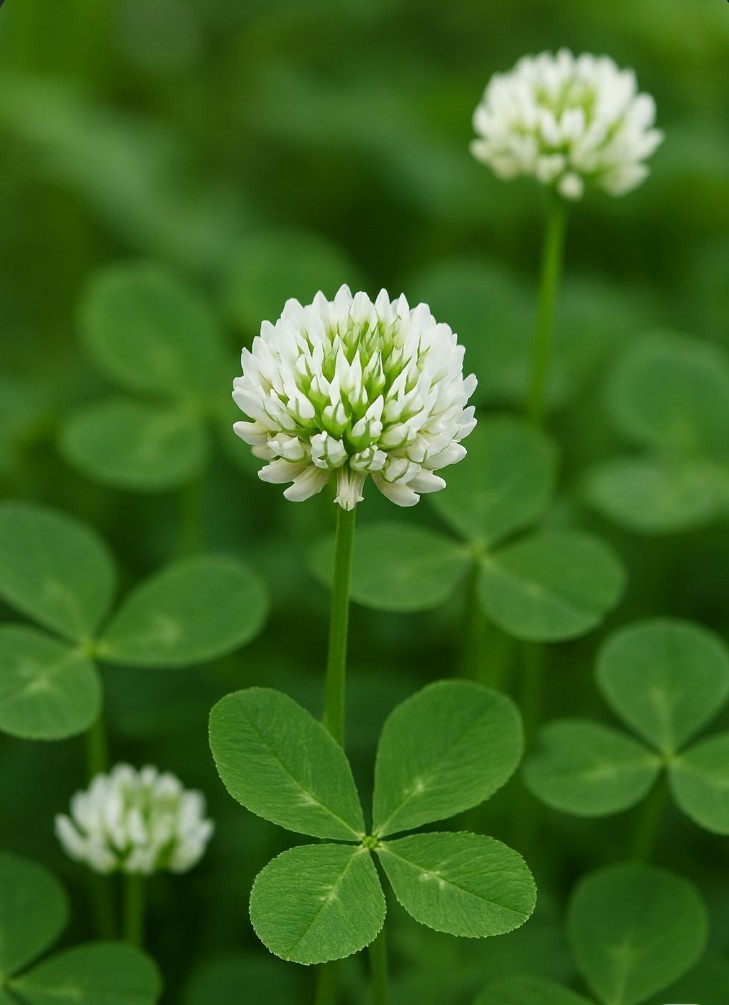
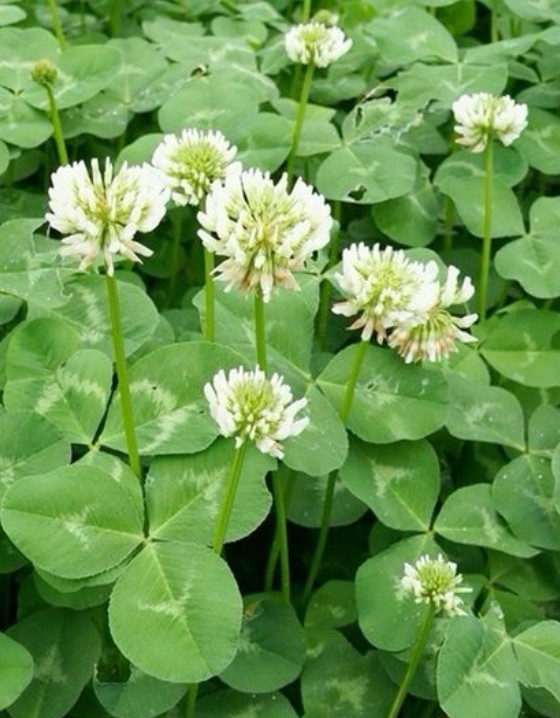
White Floral Reference
