One of the most rewarding watercolor subjects is a beloved pet. Whether you’re painting a dog, cat, rabbit, squirrel, or another furry friend, the key to a successful animal portrait is creating convincing texture while capturing the unique personality of your subject.
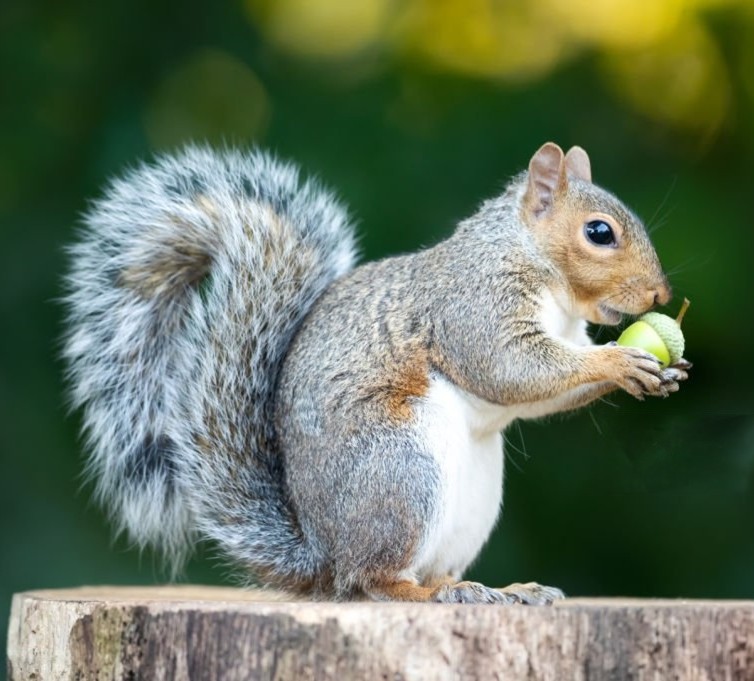
For this week’s assignment, we’ll focus on painting a squirrel as a study in texture, layering, and contrast. The techniques used here can easily be applied to any pet portrait.


Step 1: Create the Background First
Begin by painting the background using a wet-into-wet technique. Wet the background area with clean water and drop in your colors, allowing them to softly blend and flow together.
As you paint, leave the squirrel’s shape completely untouched. Preserve the white paper where the body and fluffy tail will be. This negative space will help the animal stand out against the soft background and create strong contrast.
Allow the background to dry completely before moving on.
Step 2: Build Fur with Layered Marks
Youtube tutorial : Click Here
Once the background is dry, begin painting the squirrel using layers of sketchy, linear brushstrokes. Think of the fur as thousands of individual hairs rather than a solid shape.
Work in layers, gradually building darker values and richer texture. Allow some strokes to overlap while leaving others visible. This layering creates depth and gives the fur a natural appearance.
Technique 1: Preserve Whites and Create Texture
Many animals have areas of bright highlights and lighter fur. Rather than painting these areas pure white, create form with very light gray shadows.
You may also use frisket (masking fluid) to preserve fine strands of fur before painting. Once removed, these white lines create beautiful highlights and add realism to the texture.
Technique 2: Wet-on-Dry for Crisp Fur
For sharp, individual hairs, use the wet-on-dry technique. Paint onto completely dry paper with a relatively dry brush.
A helpful trick is to hold your hand farther back on the brush handle. This creates looser, quicker, and more natural strokes. The resulting marks feel energetic and spontaneous, much like real fur.
Use this technique for whiskers, outer fur edges, and any area that requires crisp detail.
Technique 3: Wet-into-Wet for Soft Fur
Some areas of fur are softer and fuzzier, especially around the face, ears, and tail. For these passages, use a controlled wet-into-wet technique.
The paper should be slightly damp—not soaking wet. If the paper contains too much water, you’ll create unwanted blossoms and backruns instead of soft fur textures.
When the moisture level is just right, your brushstrokes will gently soften at the edges, creating beautiful, fluffy textures.
Bringing Your Pet to Life
Remember that watercolor rewards patience. Build texture gradually through multiple layers rather than trying to paint every hair at once.
By combining:
- Wet-into-wet backgrounds
- Wet-on-dry fur textures
- Preserved highlights with frisket
- Soft and hard edges
you can create a watercolor pet portrait full of personality, texture, and life.
I look forward to seeing your squirrels, dogs, cats, rabbits, and other furry friends come to life in watercolor. Happy painting!
Next Week’s Homework

| Boys in a Dory, 1873 |

Leave a Reply