The Magic of Saran Wrap on Painted Rock

Create River Stone Textures with Saran Wrap
Have you ever looked at a beautiful, textured rock and wondered how you could capture that intricate, geometric pattern on paper? You know, the secret tool is hiding in your kitchen drawer right now? Yes Maam and Sir, its Saran Wrap!
(Insert Applause)
That’s right! Nothing more than watercolor paint and a sheet of plastic wrap, you can create mesmerizing, organic designs that look like everything from ocean waves to rugged canyon walls.
How does it work??? Paint with watercolors and then place scrunched-up plastic wrap on the wet paint. As it dries, the plastic repels the pigment and creates fantastic, crystalline patterns.
Create Your Own River Stone Art

Remember: The combination of the organic, watery background and the sharp, metallic doodles is absolutely breathtaking. It’s a perfect blend of happy accident and intentional design.
MATERIALS : Reference Videos : Video 1 : Video 2
- Watercolor Paper
- Watercolor Paints
- Saran Wrap (Cling wrap, plastic wrap—any brand will do!)
- A Brush and Water
Time needed: About 1 hour (including drying time)
Instructions
Step 1: Paint with Wild Abandon
This is the most important step: Add lots of color and allow the pigment to mix on the paper. Focus on the saturation and hue of the pigment. Load it up
Pro Tip: Allow the paint to mix on the paper by overlapping color
Step 2: Apply the Plastic Wrap
Now for the magic! Use a piece of plastic wrap and add to the surface by scrunching it up in your hands. Create lots of wrinkles, folds, and peaks. Remove in 5 – 10 minutes. ( it does not have to be dry to remove)
Step 3: Reveal the Magic
Once the paper is completely dry to the touch. You’ll reveal a beautiful, complex pattern of light and dark, with sharp, geometric lines where the paint was pushed away. It’s a surprise every single time!
Taking Your Art to the Next Level : Negative Painting
Begin to layer the color of the rocks to create value and depth.

- Trace the Rocks with outline : Use your imagination to find the rock structures in the abstract design. Once the first lines are dry, Mix a darker shade of your color. Use your brush to carefully fill in the space between each rock. You are now painting the negative space around it.
- Doodle and Embellish: Add tiny dots, dashes, or patterns inside some of the larger shapes. This can give it a more intentional, mandala-like or ancient artifact feel.
- Create depth with Glazing : After fill in the area around your original shape with the darker color, choose some rock to add glaze 1: This makes the lighter shape look like it’s sitting in front of a dark background.
- Finish up: Continue defining shapes by painting the space behind them. It’s like carving with paint
Pro Tip: Always start with your lightest color and build up to your darkest. Watercolor is transparent, you can’t put a light color over a dark one. This “light to dark” rule is the secret to mastering depth in watercolor!
So, what are you waiting for? Raid the kitchen, grab your paints, and discover the beautiful, rocky textures you can create with a simple sheet of plastic wrap!
I would love to see your creations! Share your plastic wrap masterpieces with us on social media , @ida.mae
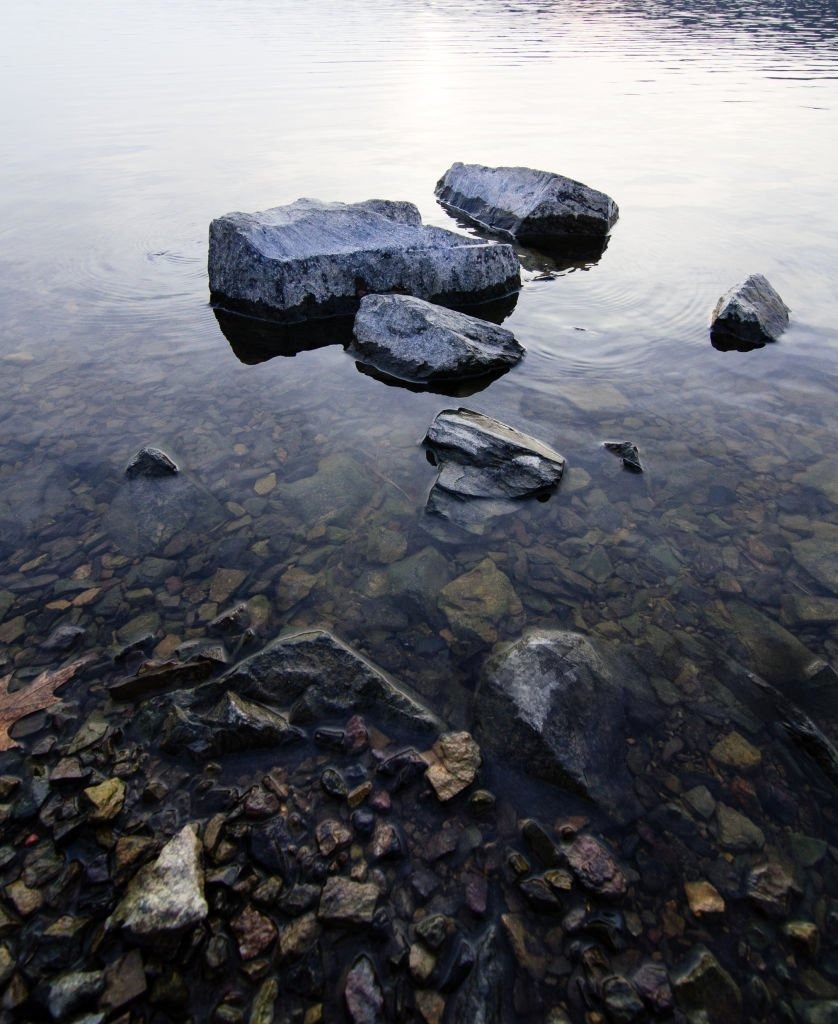
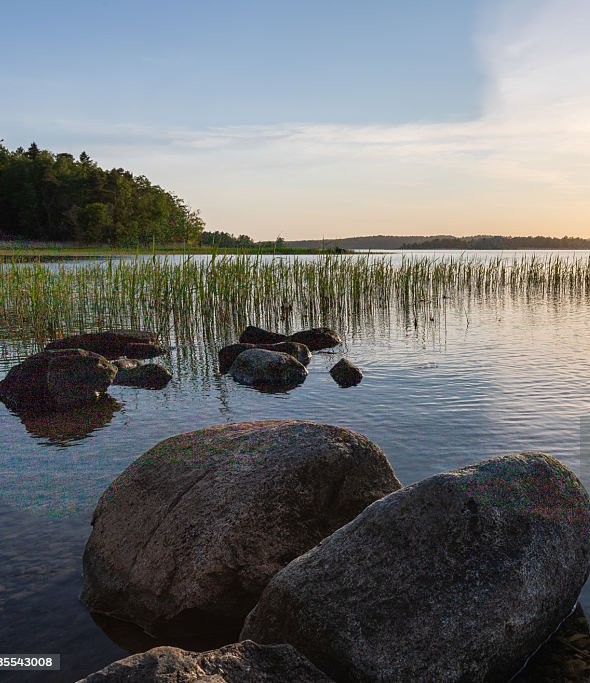
Up for the Challenge ? Try one of these photos attached here!
“Green Debths” watercolor , By Artist Nina Allen Freeman

Home Work Use Cling Wrap to create texture in your own works : Click Here