Student Gallery : Continued Ed. Beginner Watercolor Course Spring 2025


View Video on Line and Wash to get Started : Click Here
A Step-by-Step Guide to Painting a Child’s Portrait in Line & Wash
Hello, artists!
Can you believe it? We’ve sailed through the heart of the course and have arrived in the crisp, creative air of Fall . It’s been an incredible journey so far, and we’re about to dive into one of the most elegant and rewarding techniques in watercolor Line and Wash.
This technique marries the precision of drawing with the fluidity of watercolor. The process is straightforward: you create a detailed outline of your entire subject and then fill in the separate sections with soft washes of color.
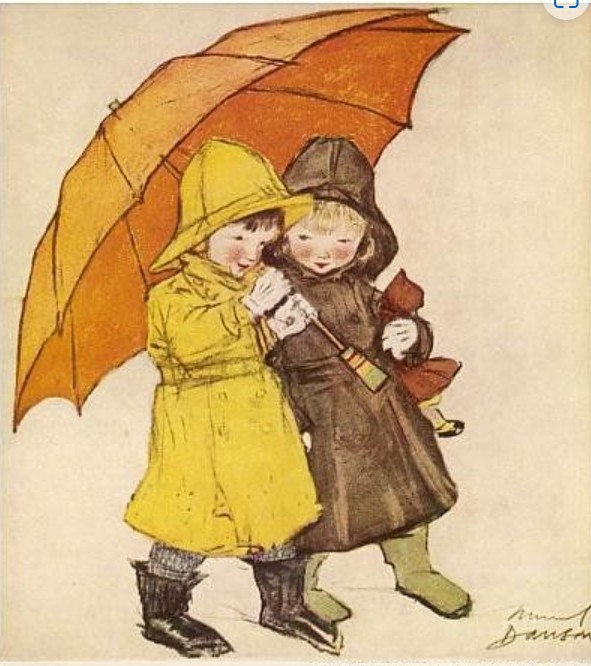
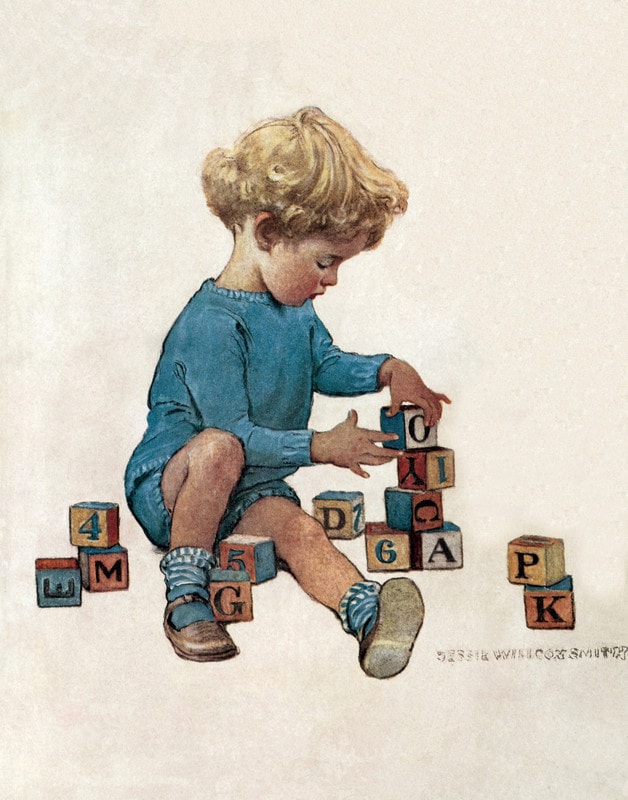
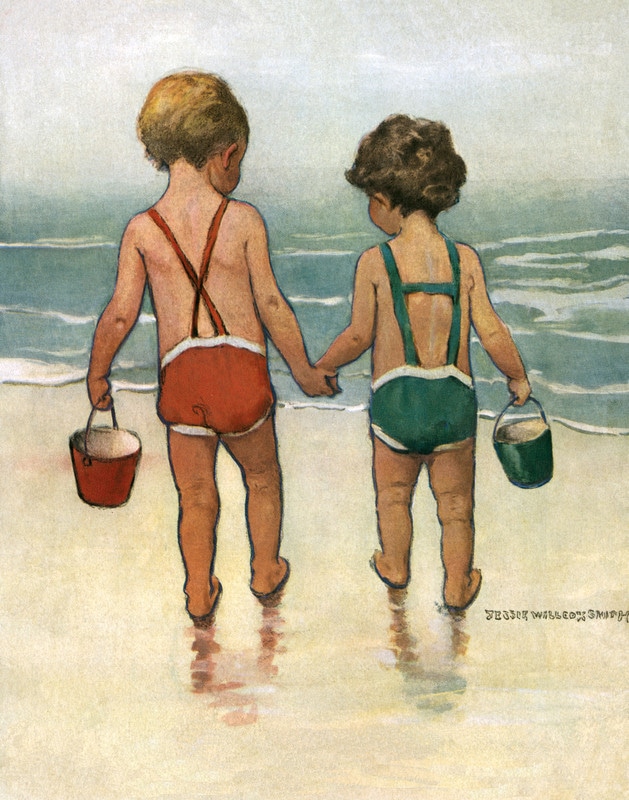
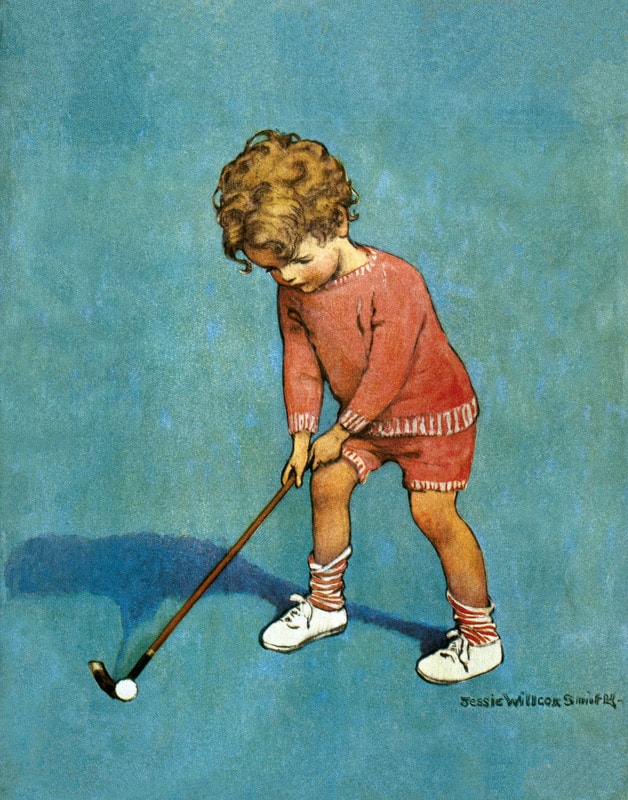
Your Artistic Inspiration: Jessie Willcox Smith
For this project, we’re drawing inspiration from a true master of the form: the historic illustrator Jessie Willcox Smith. Renowned for her heartfelt and idealized depictions of childhood, her work is a masterclass in capturing expression and emotion. Her illustrations are a perfect study for learning how to use line and color to tell a story.
Your mission is to create your own line and wash portrait of a child, inspired by her timeless style.

Portrait Step-by-Step Guide
It is time to create. Gather your cotton paper, brushes, and paints! Follow these steps to bring your portrait to life.
Step 1: The Foundation is Key
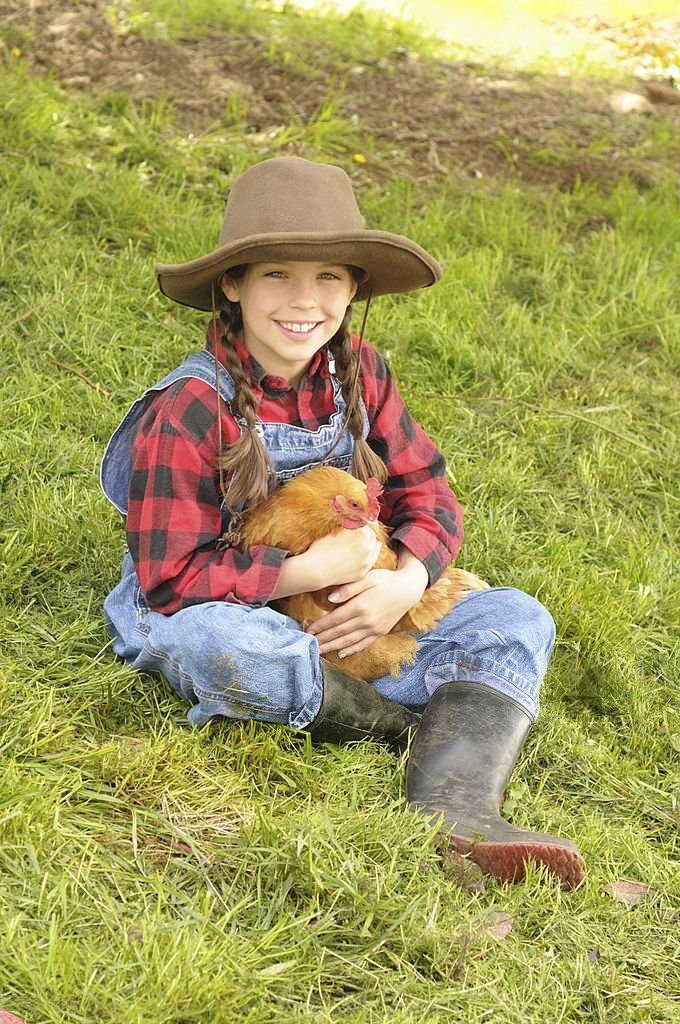
Begin by transferring your chosen image onto your cotton paper. You can use a photo of a child in your life or work from a reference photo.
Remember: A great drawing is the foundation of a great painting. Take your time with this step!
Step 2: The Art of the Outline
Once your drawing is ready, use a #2 brush to carefully trace over your graphite lines with watercolor.
- Color Choice: Use a single color for the entire outline. Do not use black ink. Instead, try a classic hue like Burnt Sienna, Paynes Gray, or Cobalt Blue. This will give your painting a harmonious and softer feel.
- Technique: Use a variation of line thickness, both thick and thin.
Step 3: Bringing Life with Skin Tones
After your outline is complete and dry, it’s time to mix and apply the skin tone.
Here are a few reliable mixtures to get you started (aim for a coffee or tea consistency by adding water):
- Quinacridone Rose + Cadmium Yellow
- Quinacridone Rose + Yellow Ochre
- Quinacridone Rose + Burnt Sienna
Experiment on a scrap piece of paper to find the perfect shade for your subject before applying it to the face.
Step 4: Complete the Painting with a Limited Palette
Think of this step like a sophisticated “color by number.” To keep your painting cohesive, work with a limited palette of 3-5 colors.
Suggested Palettes:
- Earth Tones: Burnt Sienna, Yellow Ochre, Cobalt Blue
- Vibrant & Moody: Quinacridone Rose, Cadmium Yellow, Paynes Grey
Technique Tip: Try to keep your colors fairly flat using a wet-on-dry technique. To add subtle shadows and dimension, try “charging” a darker color into a wet area. For example, charge a little blue into a red wash to create a beautiful, natural shadow.
Pro Tips for a Flawless Finish
- Cleanliness is Key: Keep your brushes and water clean! This is the simplest way to maintain brilliant, clear color in your painting.
- Experiment Freely: Don’t be afraid to play with color mixing, especially for skin tones. The perfect hue is often discovered by accident.
- Always Test First: Before committing to your final artwork, practice your washes and color mixes on a separate piece of paper.
We can’t wait to see the stories you tell with your brush. Happy painting