Welcome to The Forest Floor, an introduction to watercolor through the simple and expressive subject of mushrooms. In this class, beginning watercolorists will explore several essential techniques while learning how water, pigment, brush pressure, and timing work together.
Basic Techniques : CLICK HERE
- Wet into Wet — adding wet pigment to an already wet area to create soft, flowing shapes and blended colors.
- Wet on Dry — applying watercolor to dry paper for more defined edges and controlled shapes.
- Charging — dropping additional color into a wet wash and allowing the pigments to mingle naturally.
- Dry Brush — using a brush with very little water to create broken, textured marks.
- Scumbling — lightly moving the brush across the paper to build irregular texture and variation.
- Dragging — pulling the side or tip of the brush across the surface to create grasses, bark, stems, and organic marks.
- Lifting — removing wet or dried pigment with a clean, damp brush to create highlights, soften areas, or make corrections.
As we practice, pay attention to the amount of water in your brush, on your paper, and within your paint mixture. Learning to recognize these different stages of wetness is one of the most important skills you can develop as a watercolorist.
Practice Painting : Click Here
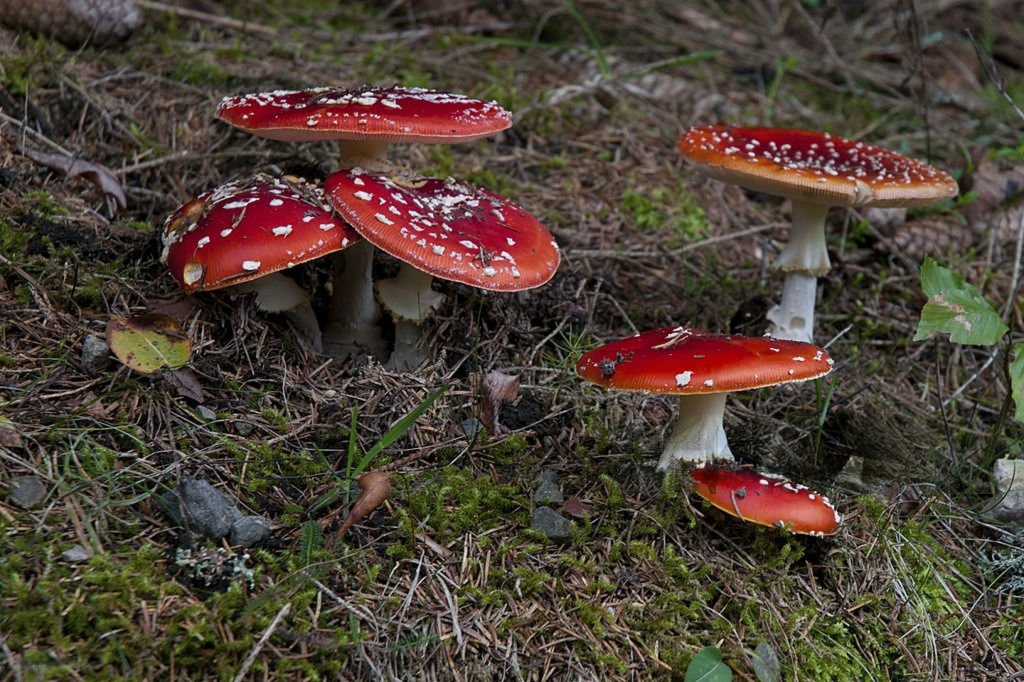
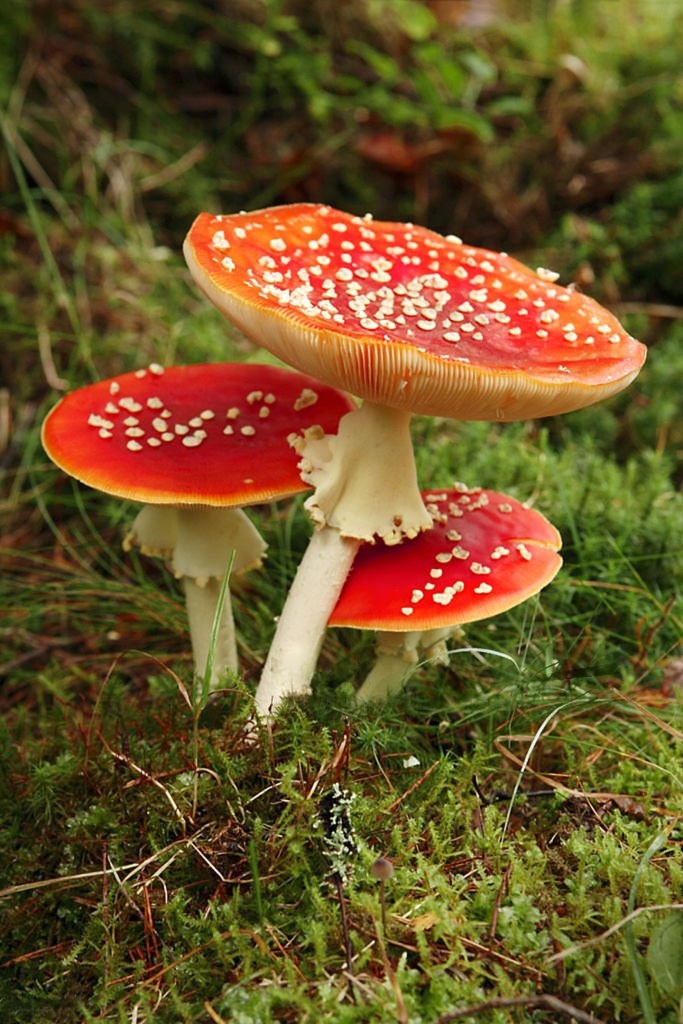
For the final project, students will create a small watercolor composition featuring two mushrooms surrounded by a decorative wreath of leaves, grasses, berries, and forest foliage. The wreath is optional and can be as loose or detailed as you would like.
Students who prefer a more natural composition may instead create a simple forest-floor painting, placing mushrooms among leaves, moss, twigs, grasses, and other woodland textures.
There is no need to paint every detail. Think about the feeling of walking through the woods and looking closely at the small world beneath your feet. Allow some areas to remain loose, soft, and suggested.
Things to Notice While You Paint
Look for differences between soft blends vs scumbling, light vs dark values, & transparent vs opaque washes.
Most importantly, allow watercolor to behave like watercolor. Blooms, soft edges, granulation, unexpected mixtures, and irregular marks can become some of the most interesting parts of your painting. These irregular areas make your art interesting.
By the end of The Forest Floor, you will have practiced foundational watercolor techniques and created a finished mushroom painting that combines controlled brushwork with the spontaneous beauty of the medium.
Happy painting—and enjoy exploring the forest floor.
INTERMEDIATE
Glazing in Watercolor
Basic Techniques : CLICK HERE
Lifting — removing wet or dried pigment with a clean, damp brush to create highlights, soften areas, or make corrections.
Wet into Wet — adding wet pigment to an already wet area to create soft, flowing shapes and blended colors.
Wet on Dry — applying watercolor to dry paper for more defined edges and controlled shapes.
Charging — dropping additional color into a wet wash and allowing the pigments to mingle naturally.
Dry Brush — using a brush with very little water to create broken, textured marks.
Scumbling — lightly moving the brush across the paper to build irregular texture and variation.
Dragging — pulling the side or tip of the brush across the surface to create grasses, bark, stems, and organic marks.
PRACTICE :
This week, we will explore glazing, a watercolor technique that works almost opposite to direct painting. Instead of mixing and placing your final color in one application, glazing allows you to slowly build a painting one transparent layer at a time.
A glaze is a thin, transparent wash of watercolor placed over a previous layer. Because watercolor is transparent, the colors underneath remain visible, allowing each new layer to interact with the colors below. This can create richer colors, subtle shifts in hue, and gradually deepen the value of your painting.
The most important rule of glazing is simple: let each layer dry completely before adding the next one. Painting another glaze over a wet layer can disturb or lift the color underneath instead of creating a clean transparent layer.
As you work this week, think about glazing as building rather than covering. Begin with your lightest colors and values, allow them to dry, and gradually add additional layers until you reach your darkest and most saturated areas.
WORKING FROM HOME:
Paint → Let It Dry → Glaze → Let It Dry → Repeat
The beauty of glazing comes from patience. Each transparent layer contributes to the final color while allowing the history of your painting to remain visible.
Leave a Reply