

Although no ink is used in this process, I want you to focus on the process of outlining your image to create the same Line and Wash illustration technique used by professional illustrators.
If you’ve ever been captivated by the delicate illustrations in classic children’s books, much like the timeless works of Beatrix Potter you’ve already experienced the charm of this method. But line and wash isn’t just for illustration; it is a versatile fine art technique capable of producing stunning, expressive pieces.
At its core, line and wash is simple: it involves applying washes of transparent color to a line drawing. However, within that simplicity lies a world of creative possibility. Here is a guide to getting started, along with some general techniques to help you on your artistic journey.
The Beauty of the Line
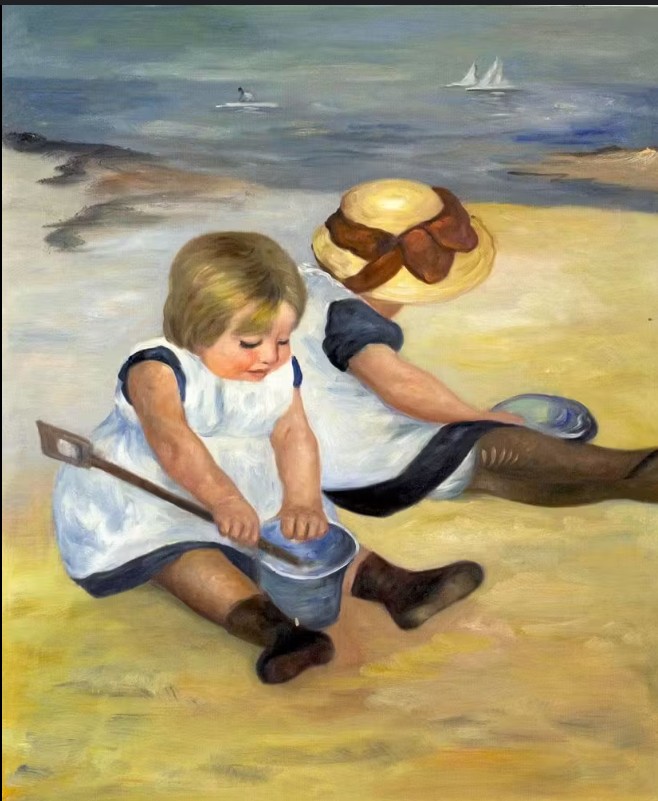
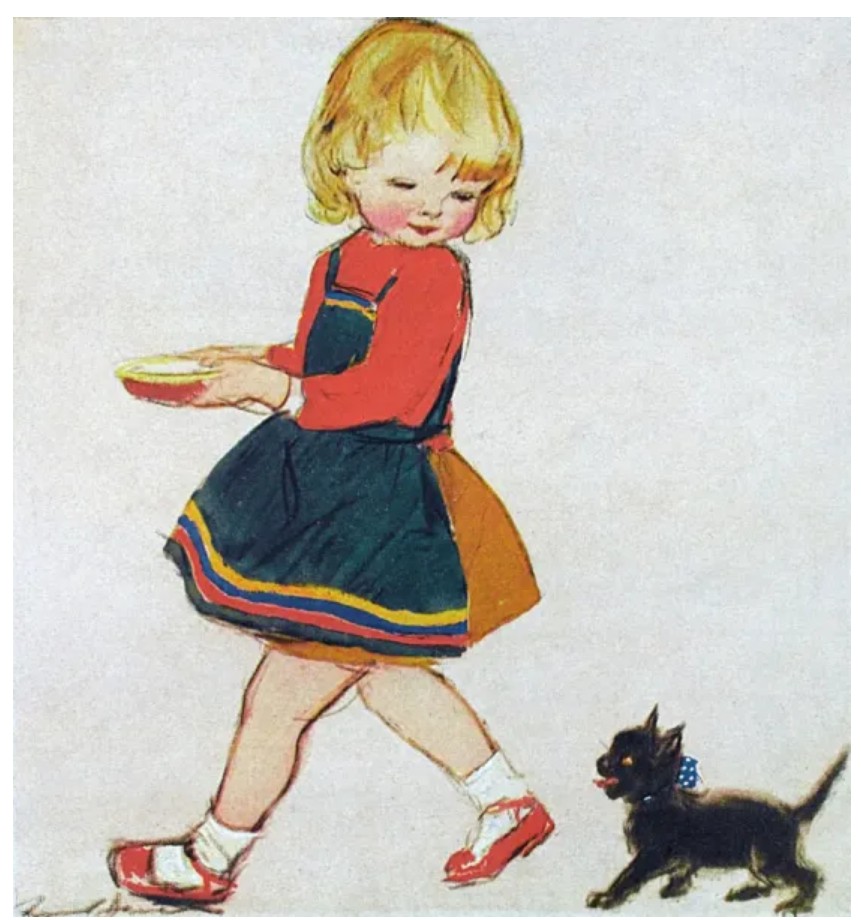
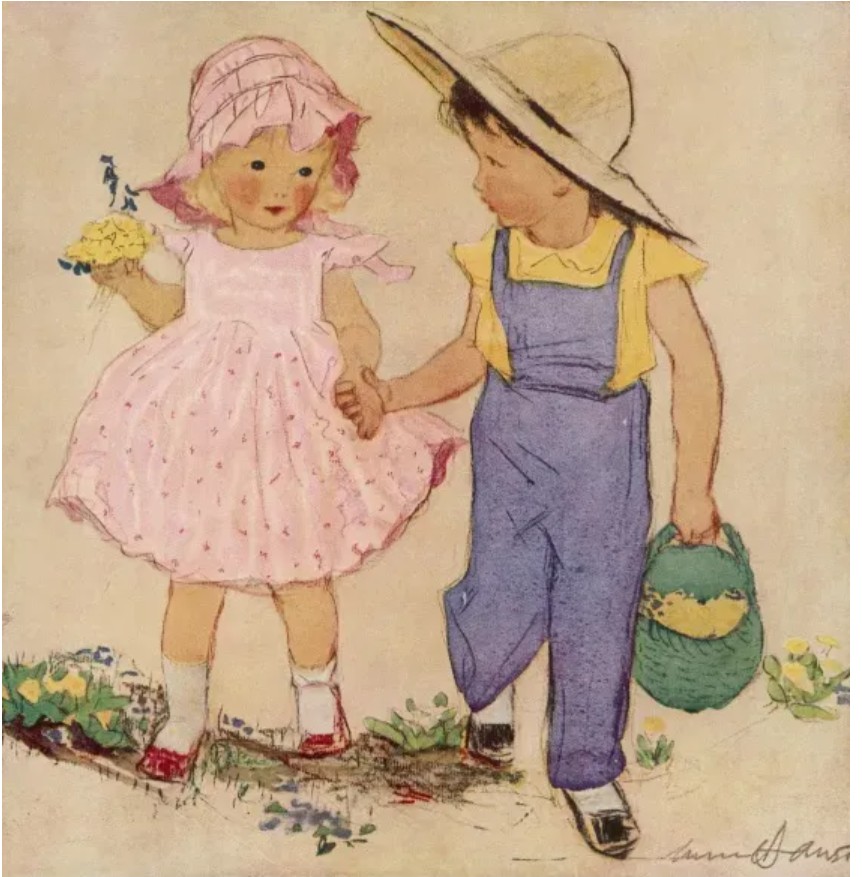
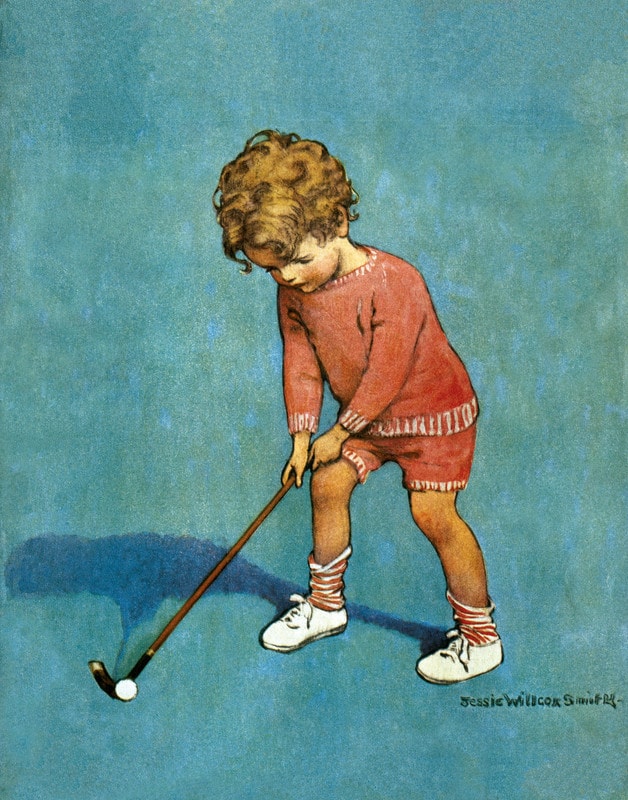
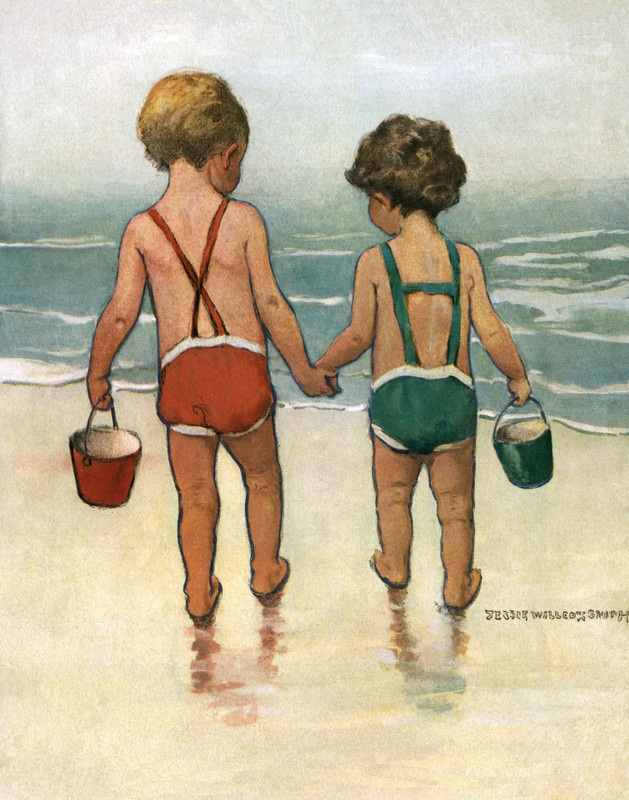
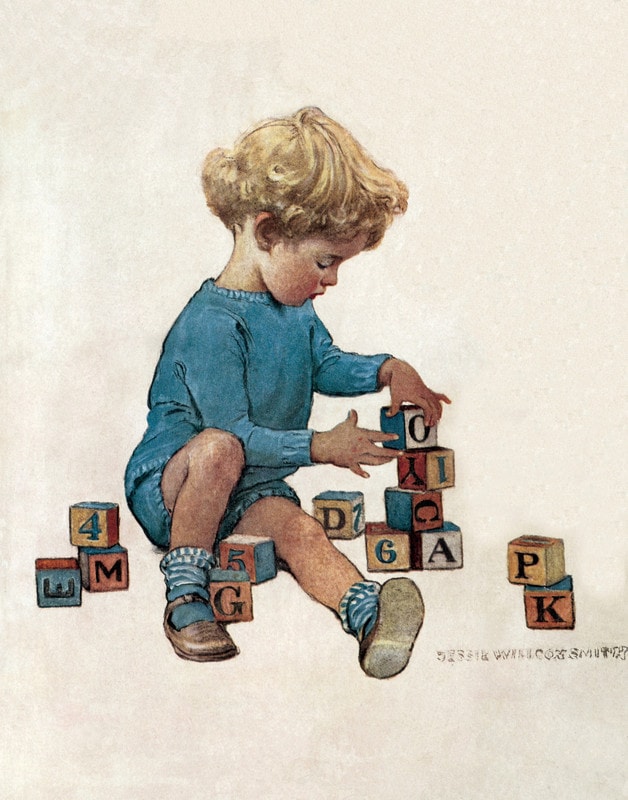
The first step is choosing your photo. Create your own adventure. Find a child’s photo that you would like to paint or choose from the choices a the end of the blog. ( see attachment below)
Use line to capture all the details. After you are complete you will use washes to capture the textures, and the shadows of your subject. For a classic line-and-wash look, aim for a think and semi-opaque line. This line work will remain visible through the paint, acting as the skeleton of your piece.


Adding the Soul: The Wash
Once your lines are dry it’s time to bring your drawing to life with color. This is where you can really start to play.
You don’t need a massive palette to be successful. In fact, limiting your colors can create a more harmonious and cohesive piece. Try working with a limited watercolor palette. This constraint can actually free you up to focus on value and technique rather than color mixing.
Here are some wash techniques to experiment with:
- Flat Wash: A consistent, even layer of color. Perfect for skies or large, flat surfaces.
- Graded Wash: A wash that transitions from dark to light. Ideal for creating depth and atmosphere.
- Variegated Wash: A blend of two or more colors that bleed into each other on the paper. This is wonderful for soft, organic subjects like flowers or sunsets.
Leveling Up: Texture and Special Effects
Once you’re comfortable with the basics, you can start to add more personality to your work. Don’t be afraid to experiment with texture and unique designs.
- Texture: Try dropping salt into a wet wash to create a crystalline texture, or use the splatter technique (flicking paint from your brush with your finger) to suggest movement or grit.
- Glazing: This involves layering a thin, transparent wash over a dry layer of paint. It’s a fantastic way to deepen colors or subtly shift their hue without disturbing the layer underneath.
- Frisket (Masking Fluid): If you want to preserve the white of your paper or protect your ink lines from a heavy wash, apply masking fluid to those areas before you paint. Once the paint is dry, you rub it off to reveal the pristine paper beneath.
The Most Important Step: Repeat the Process
The secret to improving isn’t in finding a perfect formula; it’s in repetition and play. Use your non-cotton sketchbook specifically for this purpose. Use it to try out washes for skin tones, to see how your colors will look in your painting, or to test textures like salt and splatter without the pressure of creating a “masterpiece.”
Your next painting will be your best painting
– ida mae
Your artistic practice is a journey, not a destination. You get better with each stroke of the brush and each line of the pen. Some days the washes will flow perfectly, and other days the paint will bloom where you don’t want it to. Both are valuable lessons.
So, grab your paint and sketchbook and enjoy the process. Happy painting
Leave a Reply